

A clean car feels better. For some, it even drives better. Sure, this is all subjective, but the general consensus is that a clean vehicle feels much better than a dirty one. We’ve covered how to properly wash and even polish a car from the outside in our previous installment of the eEuroparts.com Car Owners’ Manual. Now, it’s time to focus on the interior and see what can be done to make it look good as new, or at least close to it.

Managing Expectations with Interior Detailing
Before we get into the nitty-gritty details of this guide, let’s talk about expectations. Car interiors can be cleaned, easily, but there are things that no amount of cleaning with take care of.
For example, damaged leather seats, deep scratches on the dash, and ripped upholstery — all of these are things that you won’t be able to solve with chemicals, brushes, and cleaning supplies. The same applies to permanently stained surfaces or faded plastics. There are ways to rejuvenate some of them, but results are not guaranteed.
That said, even a damaged interior will look a lot nicer when it’s clean. On top of that, just about anything can be fixed inside your vehicle. If nothing else, it can be replaced. More on that some other time.
The Essentials
Interior detailing is a rabbit hole that goes deep. It’s extremely easy to get lost in all the products, machines, and techniques. However, that doesn’t mean that you can’t do a lot with basic tools. Here’s a list of things you’ll need to get started.
All Purpose Cleaners
All-purpose cleaners are the go-to solution for any kind of car detailing. You can use them on the outside, on the inside, in the engine bay — you name it. The key is to find the right dilution ratio that works for your car. Most all-purpose cleaners arrive as concentrates that you need to break down with water.
Fortunately for everyone, manufacturers always list the recommended dilution ratios based on what you’re trying to achieve. Keep in mind that you might need a stronger solution at times, so it’s a good practice to keep at least two types of APC dilutions on hand at all times.
Another thing to look for is pH values. Some APCs are acidic while others are pH neutral. If your car has delicate materials inside, it’s better to stick with the pH-neutral APC as it is less likely to cause any damage.
Microfiber Towels
Microfiber towels are your best friend. You should have a few of them at the very least. Optimally, get yourself a whole pack of microfiber towels as you’ll very quickly find out just how easy it is to go through a bunch to properly detail a car. That said, not all microfiber towels are the same.
What you’re looking for is the GSM rating, which stands for Grams per Square Meter. This tells you how dense the towel is, which usually translates to how effective it is at picking up dirt. To make things simple, look for 300GSM towels for general use, and 360+GSM towels for really delicate surfaces. Think piano black interior trim and such.
Brushes
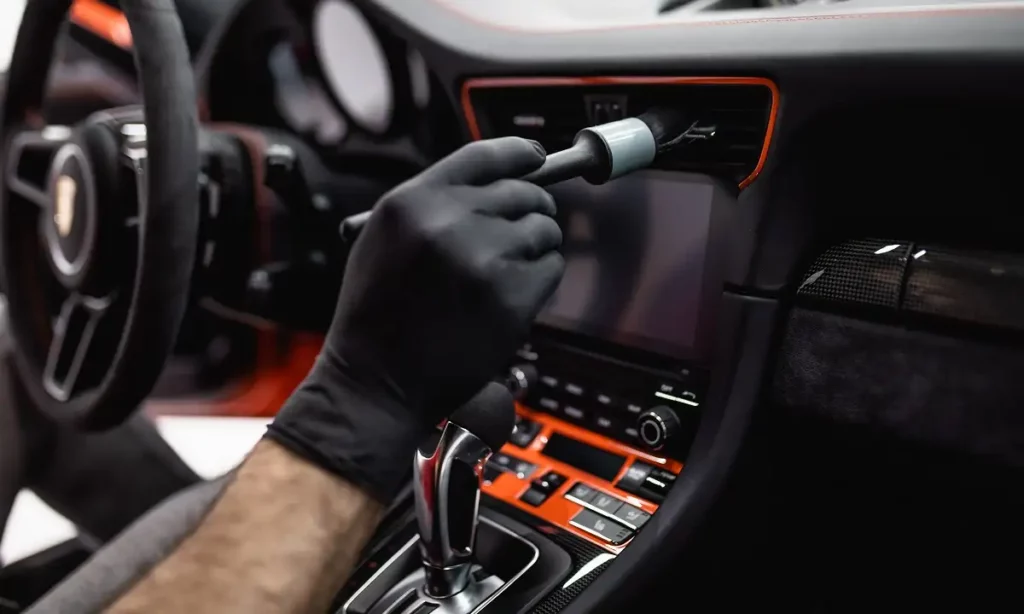
While microfiber towels are great, they aren’t always able to get into tight areas. Nor are they always aggressive enough to aggravate those especially stubborn dirt spots. This is where brushes come into play.
Just like with microfiber towels, there are different types of brushes including ones with stiffer, more aggressive bristles, and those with finer bristles that are great for sensitive areas. We recommend getting both kinds, preferably in different sizes.
Get a soft bristle toothbrush as well. These are perfect for cleaning panel gaps and similar areas where long bristle brushes aren’t as effective.
Lastly, get yourself a dedicated leather brush if you have leather seats. These are invaluable pieces of equipment that will make cleaning your leather seats much easier in the long run.
Assorted Conditioners and Cleaners
Some surfaces require special cleaning and conditioning products. Leather seats are a great example of this. Sure, you can clean them with an APC once in a blue moon, but leather doesn’t really take well to the continuous use of all-purpose cleaners.
If you do it too often, you’re running a risk of drying up the leather and damaging its surface layer. Instead, you should only use the APC to perform deep cleaning only and then switch to a dedicated leather cleaner/conditioner like this one from SONAX, to maintain your leather.
You will also need a dedicated glass cleaner to wipe down the windows once you’re done with everything else.
Vacuum Cleaner
Vacuum cleaners are a must. Every time you get in your car, you’re bringing dirt in with you. It accumulates everywhere — from your floor mats to the dash itself. A good vacuum cleaner is necessary to get all of that nasty stuff out of your car. Ideally, you should use a shop vac inside your car.
Using your home vacuum cleaner may lead to it wearing out prematurely as there are almost always pebbles and other things in your foot well that a standard vacuum cleaner doesn’t really like all that much.
How to Start Detailing Your Interior?
Interior detailing begins with the removal of all things that are in the way. This means any garbage, loose change, cups, floor mats — anything that didn’t come with the vehicle from the factory should leave the inside of your car.
Once that is done, follow a top-down approach. If you start from the bottom up, you’re just fighting gravity as the dirt from the higher areas tends to fall on the lower ones as you aggravate it. But first, vacuum the car.
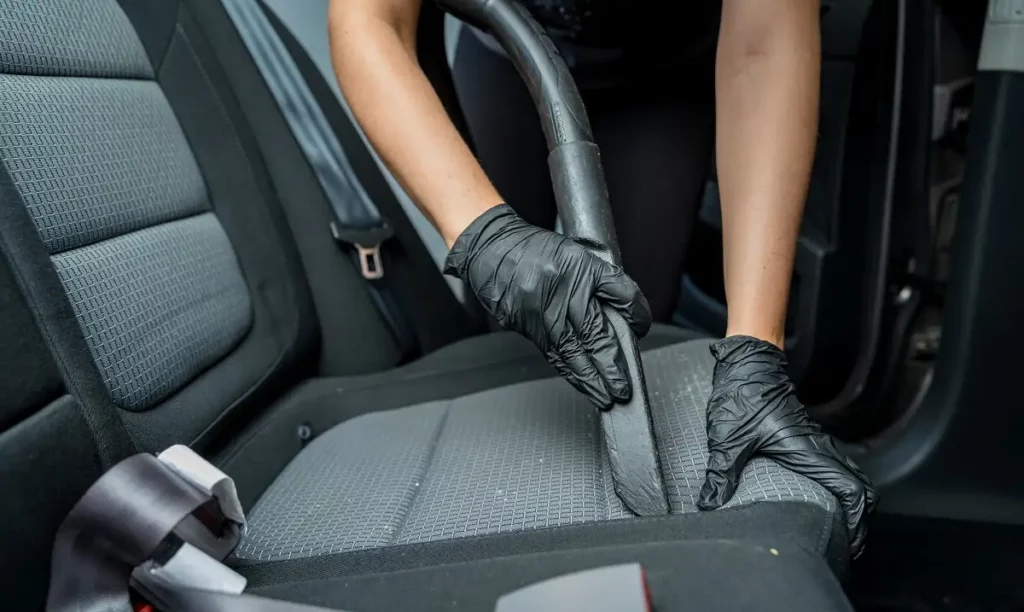
Vacuuming the Car
With the floor mats out and hanging somewhere, start vacuuming your seats. Make sure to pull on the material adjacent to any stitching to reveal the dirt that loves to accumulate in these areas. Once the seats are done, proceed to vacuum the carpeting on the floor.
If your car hasn’t been vacuumed in a while, use a regular cleaning brush to aggravate the dirt in the carpet as you follow along with the vacuum cleaner. Lastly, vacuum the dashboard, center console, and any other area, but do it carefully. You don’t want to scratch anything with the vacuum nozzle.
Prepare Your APC, Brushes, and Towels
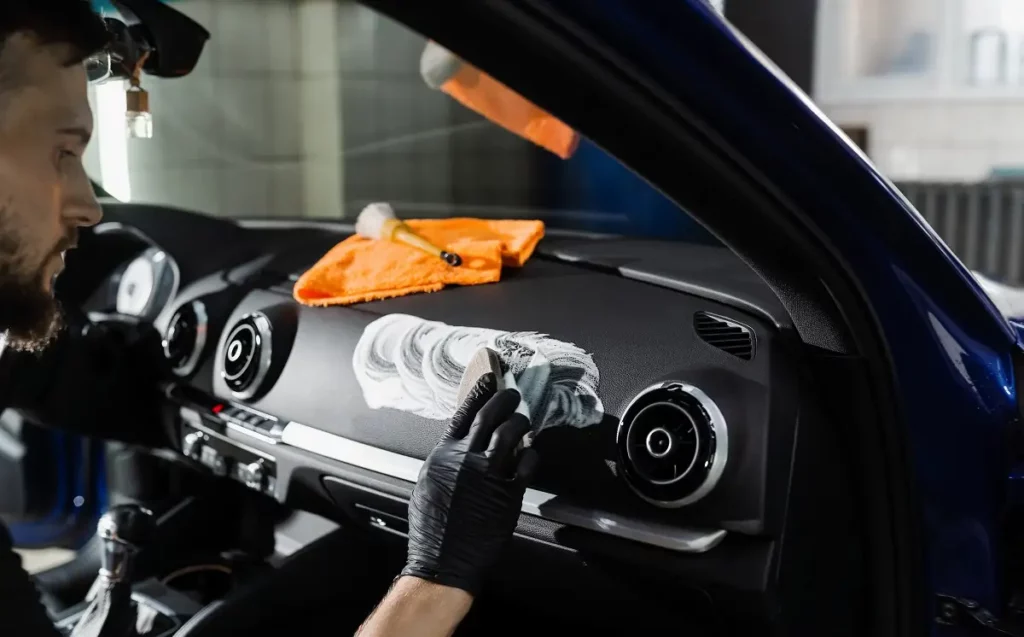
Now that all the loose dirt is out of the way, it’s time to get the stubborn stuff off using the APC, brushes, and your microfiber towels. Avoid applying the APC directly on the surface. Instead, apply it to the brush or the microfiber towel. This prevents overspray and helps avoid having the APC dry out on any surface, which can potentially cause damage depending on the type of APC you’re using.
Use a circular motion with your brush to clean textured surfaces. Do small sections at a time and always follow up with a microfiber towel wipe down to pick up any excess product. When cleaning areas that have no switches or electronics, you can be generous with the amount of APC you use. Tone it down when brushing switches, screens, and buttons, and never apply APC directly to these areas. Lightly brush over the switches and wipe them down with the towel.
Perform this for every surface in the vehicle, aside from the seats.
Cleaning the Seats
This is where things get a bit tricky and your options become limited. For heavily stained cloth seats, your best bet is to use an extractor machine. However, not everyone has access to this piece of gear. What you can do is apply some APC to the spot and work it in with a brush or a microfiber towel. Wipe it down after a while and repeat until the stain is gone. This is time-consuming but it usually yields decent results.
As for leather seats, you need to be more delicate. Inspect the condition of the seat before doing anything. If the leather is dry and cracked, use a dedicated leather cleaner/conditioner and slowly work it in with a dedicated leather brush.
If your leather seats are in a good enough condition, use a light dilution of your favorite APC and work it in with that same leather brush. One pro-tip that might help with this is to use a small foam bottle that will turn your otherwise liquid APC into a thick foam. Foam is much easier to work into the leather and will not cause staining.
Either way, once you’re done cleaning the leather seats, always use a conditioner to give them protection.
Headliner Detailing?
Detailing the headliner is something you should only attempt when you’re fully comfortable with your tools and your chemicals. Most car headliners are sensitive to cleaning products as they have a layer of glue sitting right under the surface.
If you go too far, there’s a chance that you’ll damage the glue, which will cause your headliner to sag. If you absolutely must clean it, apply some APC to a microfiber towel and spot-clean the problem areas.
Don’t Forget the Glass
Cleaning the glass is something you should do at the very end of the interior detailing process. That way if any of the APC or other products got onto the glass, you’ll wipe it down. To properly clean glass, you’ll need several microfiber towels and a dedicated automotive glass cleaner. The reason for this is that modern car glass features all kinds of stuff including factory tint that might get damaged if you use an aggressive window cleaner.
The process is simple but requires a lot of effort. Start by applying the window cleaner to a microfiber towel. Wipe down a glass surface, and then follow up with a clean microfiber. Repeat this until the glass is clean. Note that you’ll most likely go through a few microfiber towels while doing this. Also note that the inside of your windshield will likely require several passes as it picks up things from the air vents, anything that evaporates from the dash, and so on.
Get SONAX Detailing Supplies Right Here in Our Store
Here at eEuroparts.com, we offer a wide range of SONAX detailing products. Check our catalog to find interior cleaners, car wash kits, and much more that will help you keep your car squeaky clean.
