
Let’s talk cooling systems, shall we? Specifically the Porsche Cayenne 958! This awesome SUVs are made to dominate every road. Be it speeding down the city lanes or crawling on the track, this car can really handle it. But occasionally, they might give us a small bump in the form of overheating or coolant leaks. Don’t stress out; we’re right here with you!
In this little article of ours, we’re going to take a breezy stroll through the world of cooling systems, specifically focusing on those little surprises they might throw at us in a Porsche Cayenne 958. Think of it as sharing stories about an old friend, because we know just how much your cherished ride means to you.
From those pesky coolant leaks to mysterious overheating, we’ll break it down in simple terms so you can get back to enjoying the thrill of the open road without breaking a sweat. So, kick back, relax, and let’s find out what makes your Cayenne 958’s cooling system heated and how to keep it cool as a cucumber!

Cayenne 958 Cooling System Operation
Let’s dive into how the Porsche Cayenne 958 keeps its cool! Picture this: on a chilly morning, the Cayenne’s engine is just as cold as your fingers, and the coolant? Well, it’s just chilling.
As you rev up, things start to get toasty. The small circuit flips open, letting the coolant quickly tour the engine, getting everything warmed up. Now, say you’re feeling a bit nippy, and you crank up the cabin heater. Once we hit 86°F, that same little circuit gets to work, spreading the warmth inside.
Zoom ahead to 143.6°F, and it’s not just you enjoying the heat. The Cayenne’s transmission gets in on the action! And if things really heat up, crossing 203°F, the big guns come out — the large circuit, with its main radiator, joins the party, spreading cool vibes everywhere.
By the time the gear oil’s feeling a balmy 176°F, the Cayenne’s entire cooling system, from the water pump to the electronic pump, is in full swing, making sure everything’s just the right kind of warm. Pretty neat, huh?
V6 Biturbo and V8’s Cooling System Leaky Issues
So, you know the Cayenne 958 comes in a bunch of different engine flavors, right? In this article, let’s focus on the nitty-gritty of the cooling system issues faced by the V6 biturbo (M46/55) and the big ol’ V8 (M48/02, M48/52).
Do warning messages like “engine temperature too high” and “check coolant level” appear on the dash? Tough life; your ride will be holed up for a while until you fix what came up!
Found a puddle of coolant under the car? Alright, Sherlock, the easy part’s done. Now comes the fun bit: finding where that sneaky leak is coming from. You’ll need to channel your inner detective, get bendy, and keep those eagle eyes peeled under that hood. Do you think you can handle playing hide and seek with that leak? Right on! You’ll know where to look if you continue reading this!
On the top of the list and the easiest to locate is the water pump. The leak could be seen behind the pulley; if it is bad enough, you will notice it flowing down the timing case cover and maybe spread around by the belt drive.

The thermostat and thermostat housing will be next. Well, the O-rings and sealing rings of those, to be exact. If those seals have deteriorated and given up, you will notice a coolant puddle under the car coming from between the engine and the transmission.
This doesn’t mean that the thermostat and its housing don’t have any issues, either. Quite the opposite, actually! The thermostat is map-controlled (electrically operated), so it can have an electrical fault too. It also has small coolant passageways that its deteriorated rubber parts can block.
The thermostat housing of the older 958s (from 2010-2014) needs to be designed better. One of its pipes that goes to the radiator is only glued! It’s a nightmare to think if that pipe just suddenly pops off due to degraded glue while cruising. Yikes! It’s a good thing they have upgraded that on the facelifted model.
The last most common part to cause a leak is the breather line between the cylinder head. They are also located under the intake manifold, so in case of these leaks, you will face the same scenario of leaky O-rings and seals from the thermostat housing.
Maintaining Cayenne 958’s Cooling System
Keeping your Cayenne 958 running smoothly isn’t all about those oil changes and swapping out the tires, right? Your ride’s got a cool side, too – its cooling system! This nifty system keeps your engine from throwing a hot temper tantrum and damaging itself. Trust me, giving it some TLC will keep your car purring like a kitten and save your wallet from those pricey repair bills down the road!
Be attentive while driving your Porsche Cayenne
Got some blinking lights on your dash? That’s your car’s giving you a little nudge, saying, “Hey, I don’t feel well!” We are not saying to keep those eyes glued to the dash. Just stay alert and tuned in, and you’ll be able to pick up on those little signals your car is sending you, letting you know it’s time for a little TLC. Drive safe and stay in the loop!
Visual check on your cooling system
Every so often, give your car a once-over. Notice any puddles under it? Nah? Great! And hey, whenever you pop the hood — maybe you’re at the car wash or just filling up that washer fluid — take a quick peek at your coolant level. But a word to the wise: don’t go opening that reservoir cap when the engine’s hot. Trust me, that’s just asking for trouble!
Maintenance work on your Cayenne 958
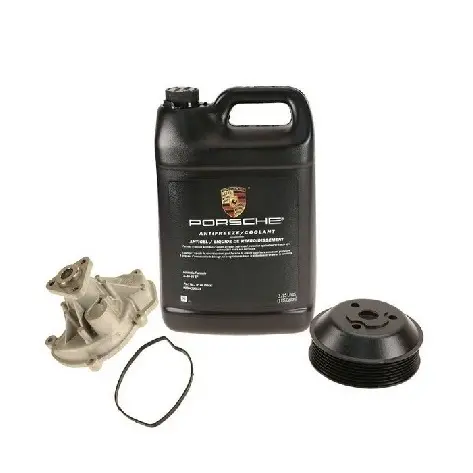
So, Porsche has yet to set a plan for when to swap out or freshen up the coolant, but keeping an eye on its quality is a good idea. Got a refractometer? Awesome! Use it to check the coolant’s strength and see where it stands on the freeze-point scale. Aim for a reading of -40°F (-40°C). Top it up with a little coolant if it’s not hitting that mark. And remember, give that coolant a good mix — run the engine until it’s at normal operating temperature — before taking another reading. Have a good read on our article regarding Porsche coolant to know what coolant to select during your maintenance work!
Cooling System Repair Tips
Alright, gearheads, listen up! Before we get into the nitty-gritty work, let’s have a quick chat about tools. Trust me, picking out the right gear before you start can make a world of difference — it’s all about making the job smoother and saving yourself from those pesky headaches down the road. So, let’s make sure we’ve got everything we need to hit the ground running!
- Working gloves
- Safety goggles
- Coolant drain pan
- ¼” ratchet and socket set
- ⅜” ratchet and socket set
- Adjustable wrench
- E-Torx socket set
- Torx bit socket set
- Your trusty pry bar
- Open-ended wrench set
- Galvanized wire or nylon strap
- Hose clamp plier
- Hose clamp pincher tool
- Water soluble lubricant
- Penetrating spray lubricant
- Vacuum filler for cooling system
SAFETY FIRST!!! Slap on those gloves and goggles; they’re your best buddies in the garage. Now, a real talk moment: if you’re not wearing the right PPE, you’re playing with fire. Seriously, we’re dealing with hot stuff and chemicals here. Stay safe, be smart, and remember: the cool factor is in doing it right, not the risky shortcuts. Let’s get working!
Warning! Warning! Warning! Do not work on your cooling system while it is still hot. It can cause disastrous injury! Only start to work on the Cooling system if it is cold.
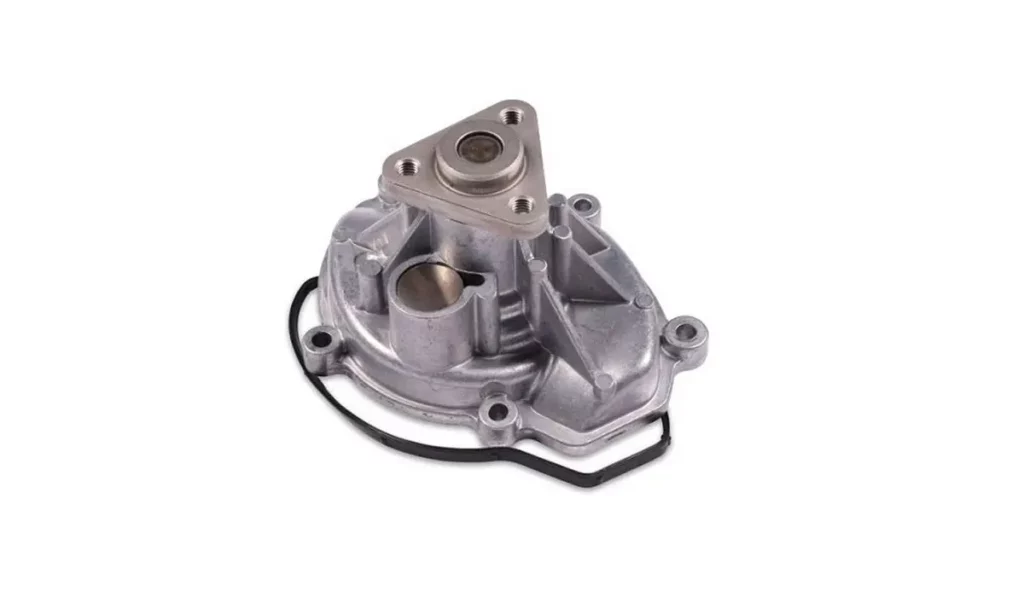
Water pump
To remove the water pump, you’ll have to remove the intake pipes first. Remove your engine’s left and right trim cover and locate the air filters. Disengage the metal tab on top of the air filters and loosen the clamp on the throttle valve. Once done, the pipes can be removed. — additional pipes are connected to the intake pipes if it is a turbocharged engine.

Now, you will see the water pump in the center top section of the engine. Loose the 3 Torx screw quarter turn, then remove the belt. For this, it is recommended to memorize or draw how the drive belt is routed; this will be a piece of handy information later on.
Once the belt is removed, you can now fully unscrew the 3 Torx and remove the pulley. Mechanic’s tip: the pulley is made out of high-grade plastic but is quite brittle, so make sure to use a penetrating lubricant spray and remove it carefully.
From there, remove the 5 E-Torx screws that attach it to the engine block. Then, you can just twist the water pump out of its position to remove it.
To install a new water pump, just do the entire process in reverse. As far as water pumps go, the V8 and the V6 (not VR6), use the same water pump, but a different water pump pulley, as listed below.
For the V8 models, use:
For the V6 models, use:
- Water pump Part number 94810603301
- Water pump pulley part number 94610609175
Thermostat
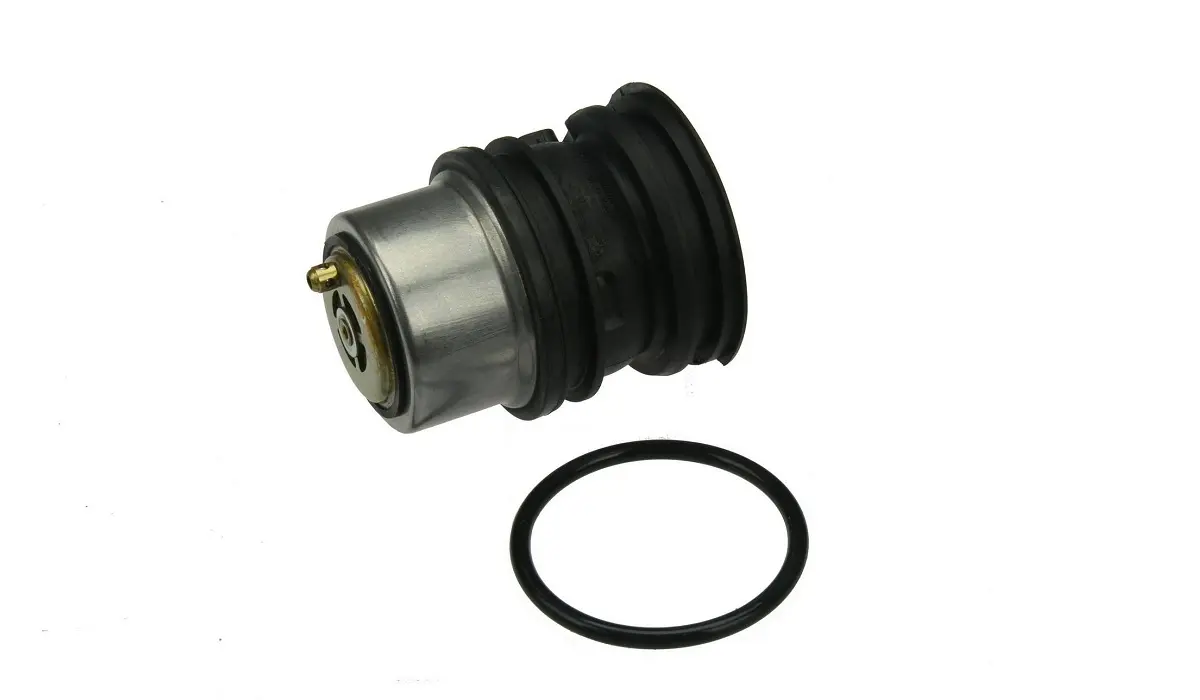
Alright, ready to swap out that thermostat? Cool beans! First up, ditch the water pump and a few other bits. If you’re rocking a V6 Biturbo, just pop off that cover on the intake manifold. For the V8 peeps, remove the ignition coil covers on both sides and remove the oil separator on the bank 2 cylinder head.
The next step is to remove the intake manifold. For the V8 engine, you’ll have to unplug the wires for the throttle valve and oil separator heater. You’ll also need to disconnect the intake manifold pressure sensor located on the top rear part of the intake manifold. Now, unscrew the intake manifold. Oh, and heads up: depending on your ride, there might be a vacuum line at the back of the intake manifold.

To remove the intake manifold on a V6 engine, you’ll have to unhook some wires, vacuum lines, and low-pressure fuel lines that go to the high-pressure pump — all of it is on top of the intake manifold. Here is a little tip from the pros: some models have a super fragile fuel line connection. Best move? Just take off the high-pressure pump on the cylinder heads, including its fuel lines.
Okay, now that all those screws are nice and loose, it’s showtime! Give the intake manifold a careful lift, and voila, you’ve got it off. Great job, we’re making progress! With the intake manifold gone, block those valve ports to keep the crud out. Slap on some packaging tape, and you’re good.
Then, just above the thermostat and under the throttle valve, there’s a tiny wiring connection. Unplug it carefully. Time to yank out that thermostat! Loop some galvanized wire or a strong strap on the cross part of the thermostat, and use a pry bar to pull. It might be a bit tough, but give it a steady pull — no sudden jerks, okay?
For the V8 and V6 Biturbo variants, use:
Thermostat housing
For the next part of the show, you’ll have to do the above steps first to remove the thermostat and proceed to the removal of the thermostat housing.
Now, here’s the game plan: grab a hose clamp pincher tool and block those rubber pipes. We don’t want any coolant making a surprise appearance and messing up the floor, do we? Once that’s done, get those pipes out of the way with hose clamp pliers. Easy peasy!

Next on the agenda, we’ve got some E-Torx screws chilling on top of the thermostat housing, connecting it to the engine block. Whip out your tools and show those screws who’s boss! With those out of the way, you’re free to pull out the thermostat housing. And there you have it: thermostat housing is out, and you’ve nailed it! Great job!
For the V8 variant, use:
Breather line
Ah, the breather line! For this part, you will have to remove the intake manifold too. So, if you follow our steps for the thermostat removal, you already know how this goes.
cayenne
For V8 engines, you will have to remove the fuel rail first. To do this, remove the battery ground first. It is under the driver seat, front right corner floor cover to be exact. Unscrew the nut and remove the ground strap. After that, you are ready to go!
Unscrew the union nuts on the fuel injector and the fuel rail supply. Then disconnect the fuel pressure sensor and remove the remaining three screws. Once done, just lift the fuel rail, and that’s it. You now have access to the breather line.
Replacing the breather line on your V6 engine involves a sequence of precise steps. Start by removing the solenoid valves for the wastegate and diverter valves, taking care to track which pipe connects to which port to avoid triggering engine warnings later. Following this, detach the distributing pipe of the fuel rail by loosening the union nuts on both ends and an E Torx screw in the center.
Move on to the secondary air pump. First, disconnect its electrical connection and then the attached hose, using hose clip pliers for ease. Unscrew all three securing screws to free the pump from the vacuum reservoir, which you’ll then address. The vacuum reservoir itself is held by three screws and has a vacuum line; disconnect it by pinching the side connection, then lift out the reservoir.
After gaining access to the breather line, remove the two screws connecting it to each cylinder head and dislodge the pipe from its position. Ensure the connection is clean; any residue can complicate reassembly. Loosen the engine wiring harness mount with the two screws to access the rear section of the breather line. Once loose, pull the pipe for slack and unclamp the rubber pipe from the breather line. With these steps completed, the breather line is successfully removed.
For the V8 variants, use:
Finalizing repair on the cooling system
Finally, you have replaced what your Cayenne 958 needs. There are just some points that you need to remember when performing a repair on the cooling system. First, make sure to replace all O-rings and seals whenever you remove them. You don’t want to do it all again later on just because of a leak from an O-ring or seal you were looking at previously when everything is out. That’s a bummer, isn’t it?
Next, do not use sealants! If you use new O-rings and seals, that should be good enough. You’ll just have to use a water-soluble lubricant when installing those O-rings to be sure that they are installed properly, and there is no tear.
Lastly, you will have to bleed the cooling system if you have opened it. For you to do this, use the vacuum filler to fill your cooling system. This will remove all the air pockets in your cooling system. If those air pockets were not removed during your repair, this can cause overheating, too.
To do this, you will have to connect the tool to your reservoir tank. The tool will have two pipes that go to a drain and a new coolant container. There will be an air connection, too. Connect a compressed air pipe to it. Then the system will now be vacuumed. Oh, and make sure to open the bleeder valve for the cooling system. Do this by pulling the metal part of the bleeder valve upward, it should stay in place due to the grove on the breather valve. Then, wait for at least 15 minutes for the whole process to be done. In just a few minutes, the pipes should shrink as the air is being sucked out of the system if you’ve done it right.
Once the bleeding has been done, switch off the valve on the tool, then disconnect the compressed air line. Now open up the valve connected to the new coolant container. Just remember to keep it as high as possible for the gravity to help it fill in. Also, as we have learned before, the coolant concentrate should be a 50-50 mix with water. And that’s it! Repair has been completed!
Expert Repair with Parts Experts
Understanding the Porsche Cayenne 958’s cooling system can initially seem a bit overwhelming, but fear not! We’ve got your back. With the right knowledge and the perfect parts, tackling any issue becomes a breeze. Here at eEuroparts.com, we take pride in our extensive inventory tailored to your Porsche needs. We’re not just a store; we’re car enthusiasts just like you, dedicated to keeping your ride in prime condition. So, remember, when your Porsche needs a little TLC, eEuroparts.com is the place to be. Let’s keep that engine running smoothly, and here’s to countless more miles of safe driving and joyful repairs. Cheers to maintaining the thrill of the drive!
