

The Saab 9-3, a beloved model among car enthusiasts, represents the pinnacle of Swedish automotive engineering. Known for its distinctive design, turbocharged performance, and driver-focused features, the 9-3 has earned a loyal following despite Saab’s unfortunate exit from the automotive industry. For many, the Saab 9-3 is more than just a car — it’s a statement of individuality and an emblem of Scandinavian innovation.
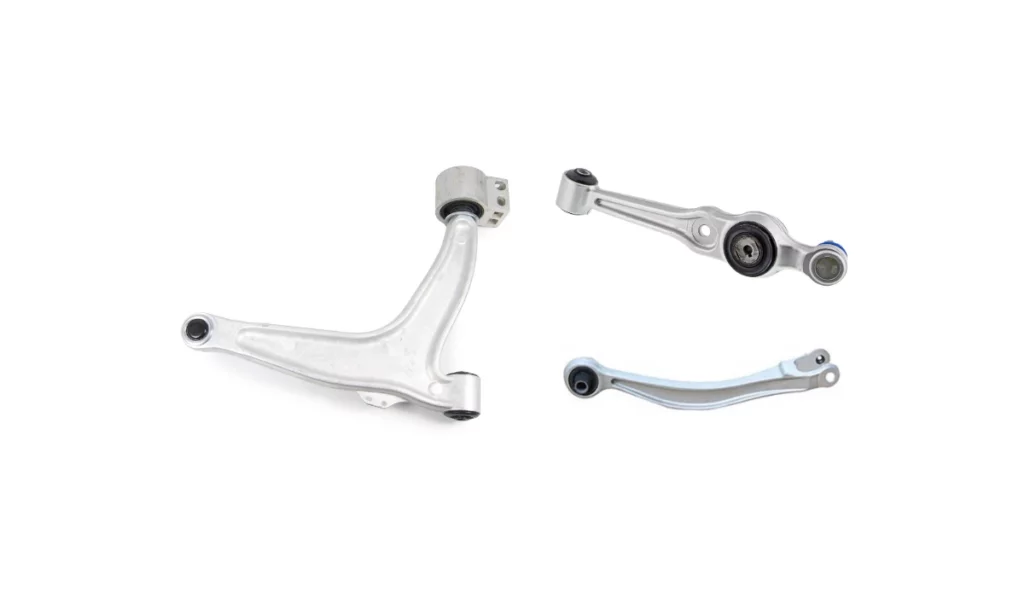
However, like any aging vehicle, the Saab 9-3 is not without its quirks and maintenance challenges. Among the most common issues that owners face are problems related to the lower control arm, a crucial component of the vehicle’s suspension system. The lower control arm plays a vital role in maintaining the car’s handling, stability, and overall driving comfort, making it an essential part to keep in top condition.
In this article, we’ll explore the symptoms of a failing lower control arm in the Saab 9-3, the potential causes behind these issues, and provide a step-by-step guide on replacing this critical component. Whether you’re a seasoned DIY mechanic or a Saab enthusiast looking to understand your vehicle better, this guide will help you keep your Saab 9-3 running smoothly and safely.
What is a Lower Control Arm?
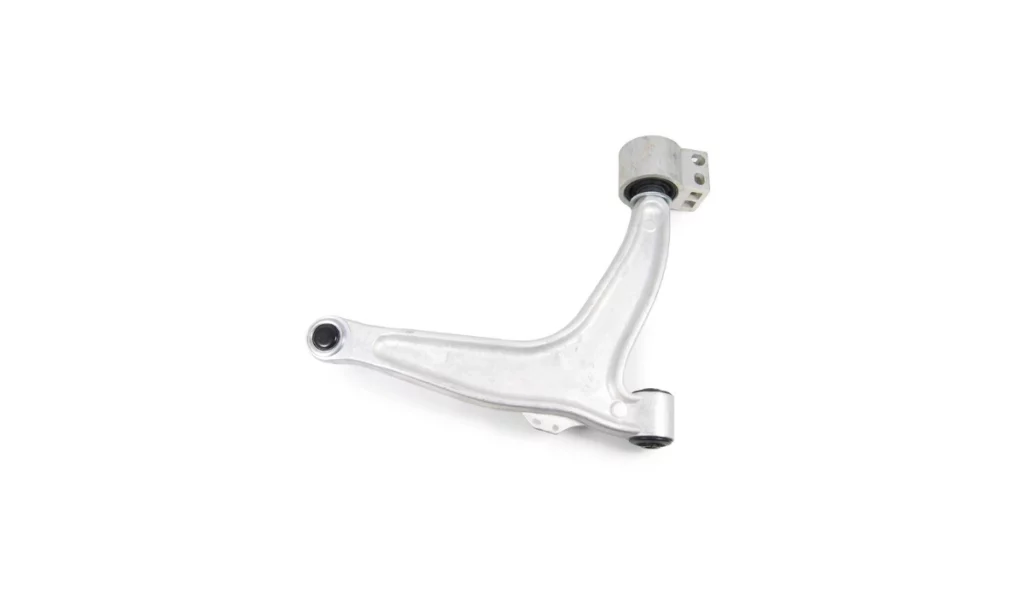
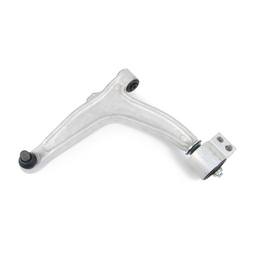
The lower control arm is a pivotal component of the Saab 9-3’s suspension system, directly influencing the vehicle’s handling, ride comfort, and overall stability. Understanding its function and importance is crucial for maintaining your Saab’s performance and safety on the road, particularly as these components age and wear over time.
Function and Importance
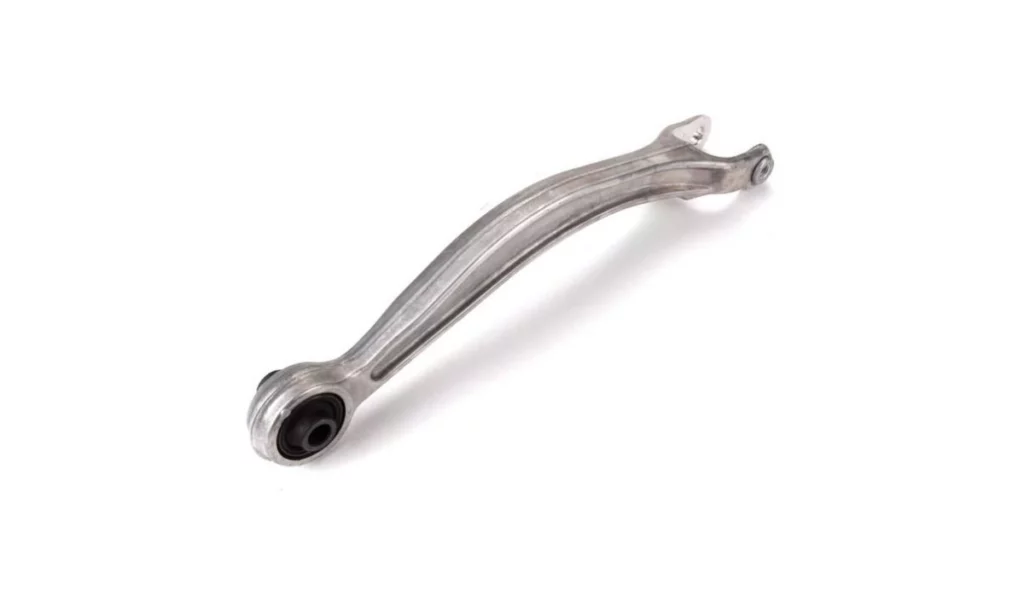
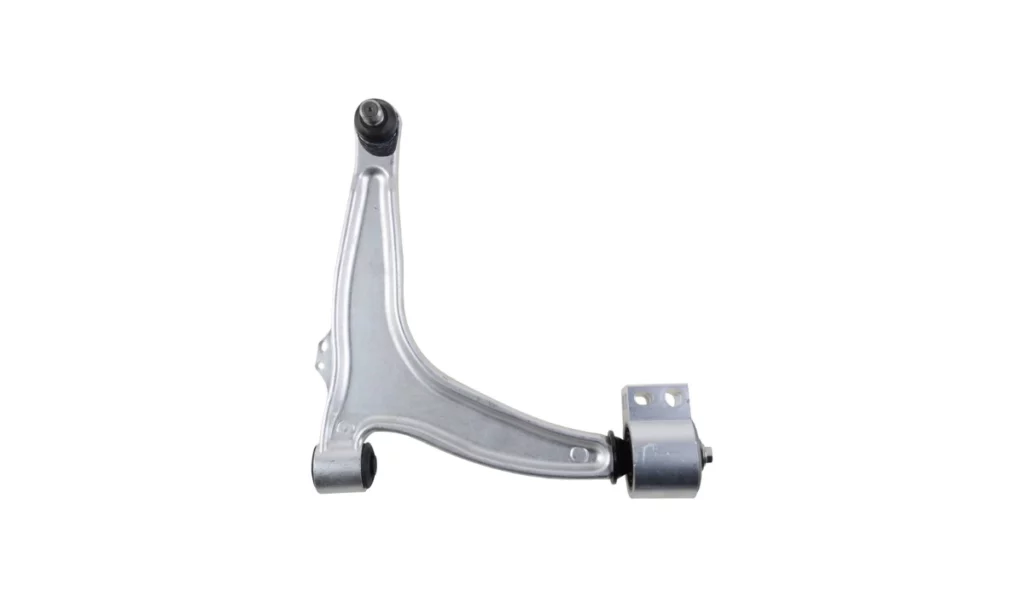
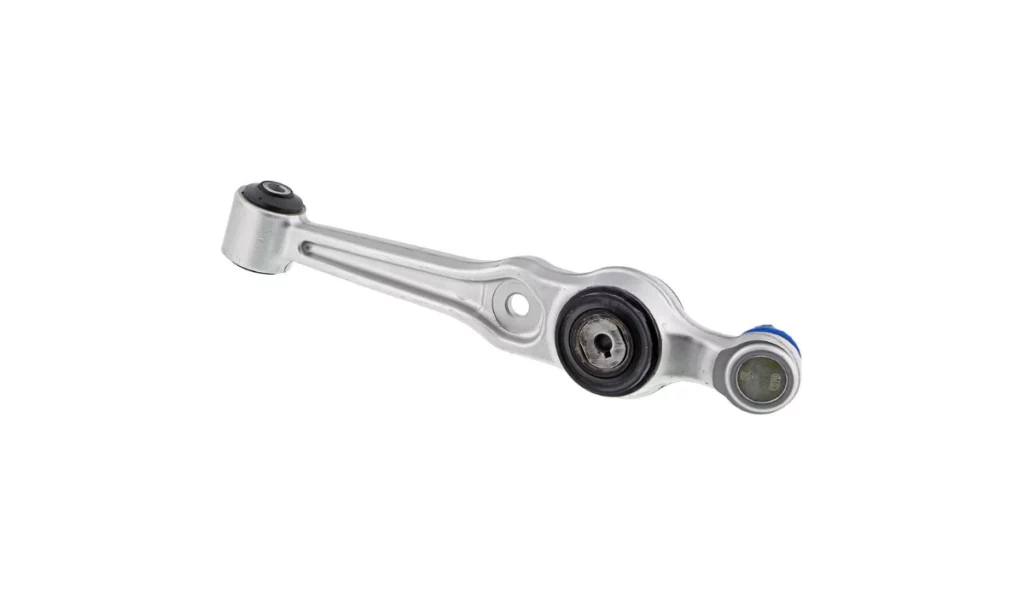
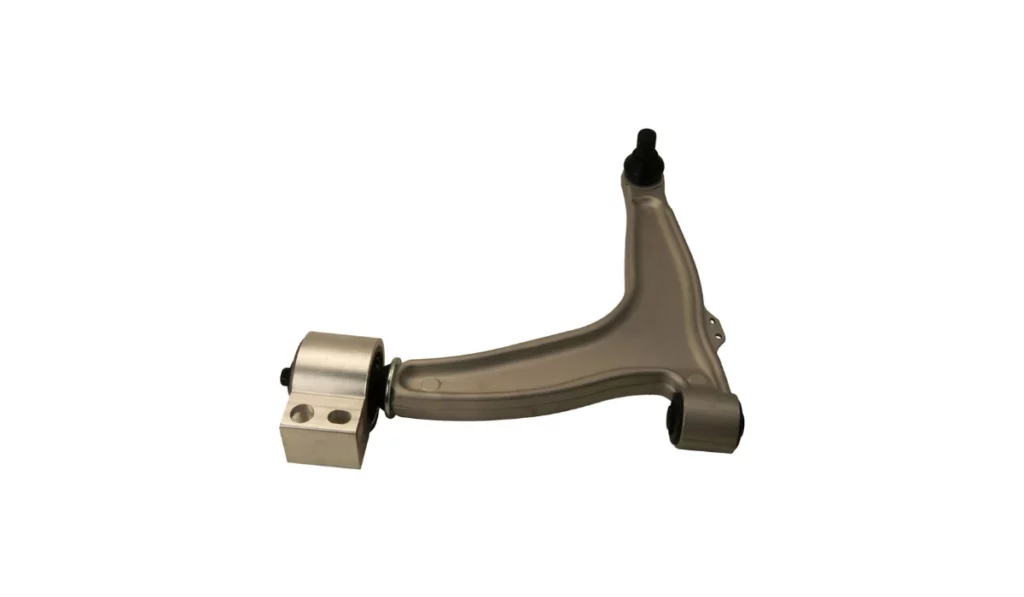
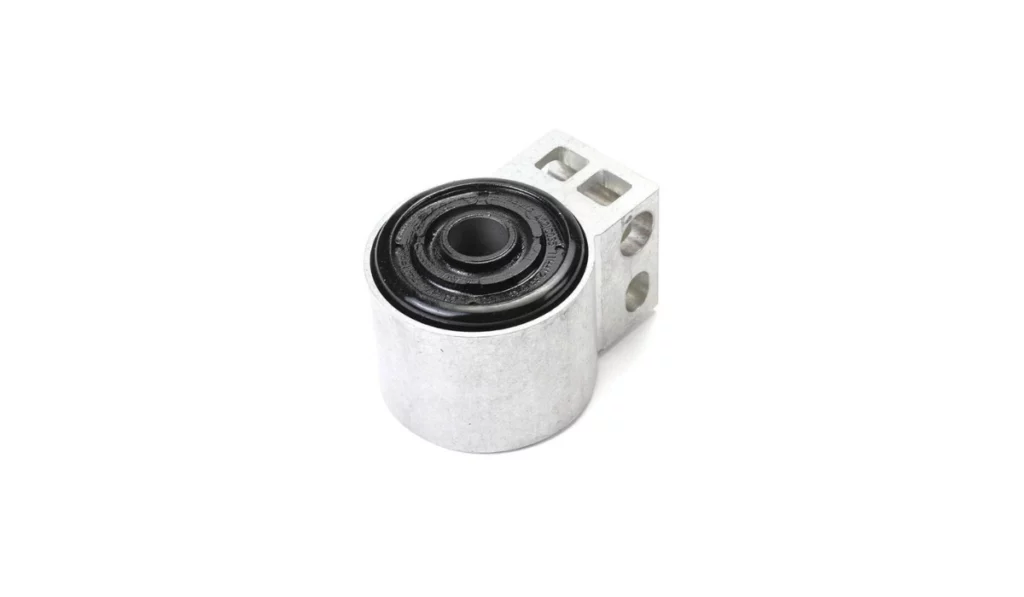
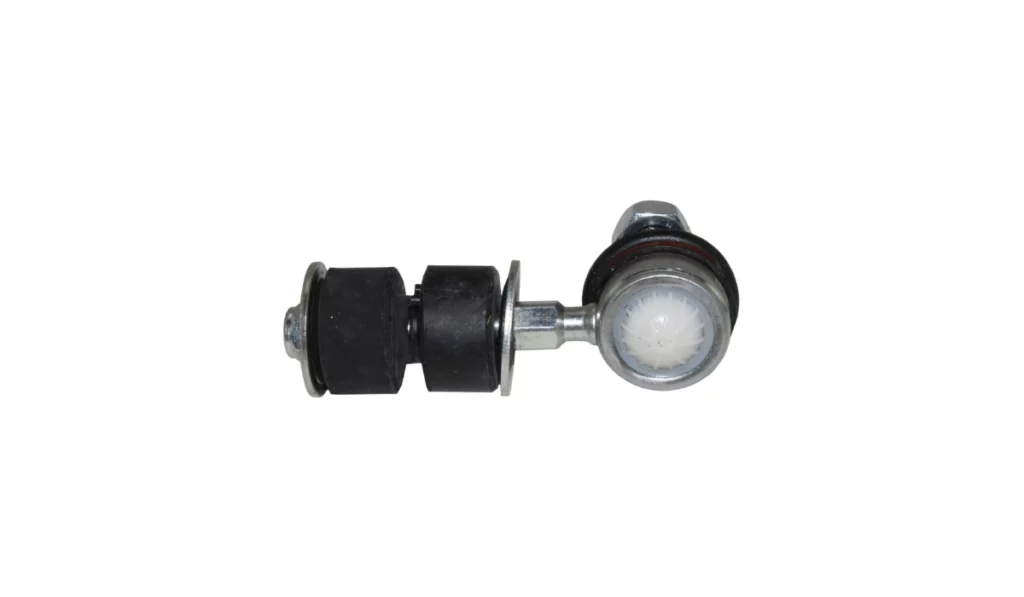
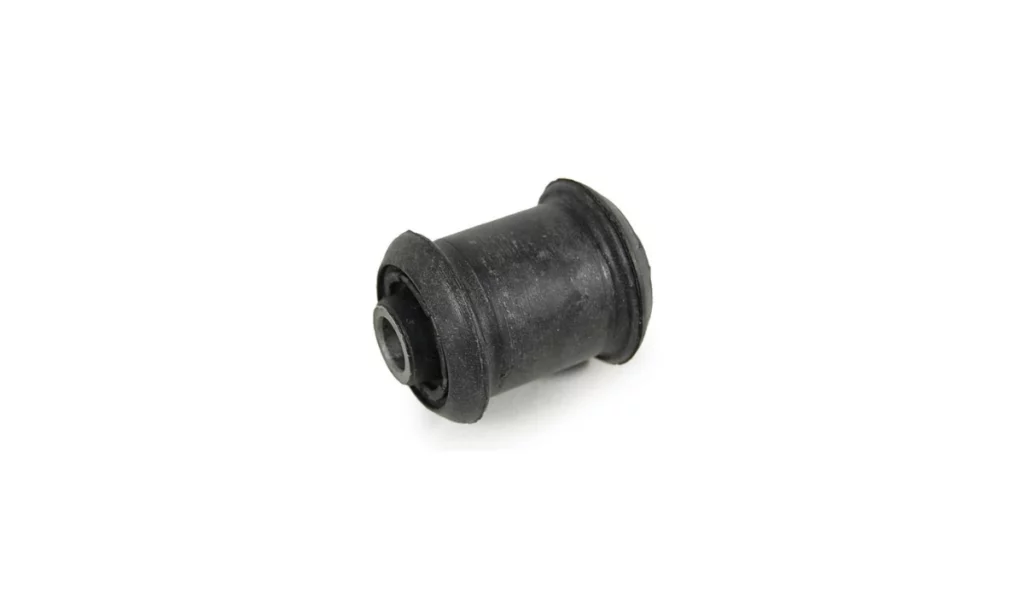
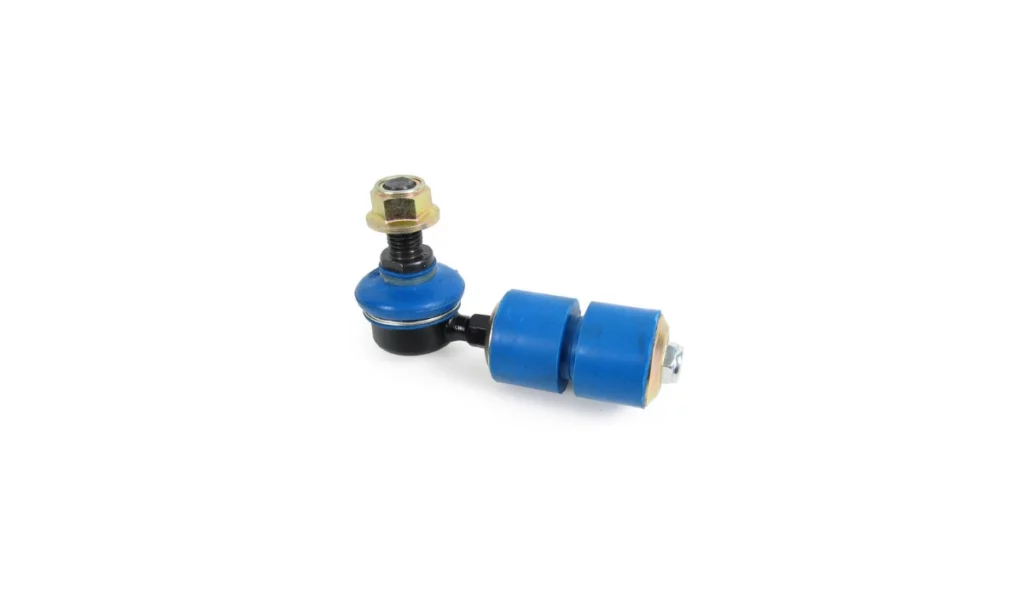
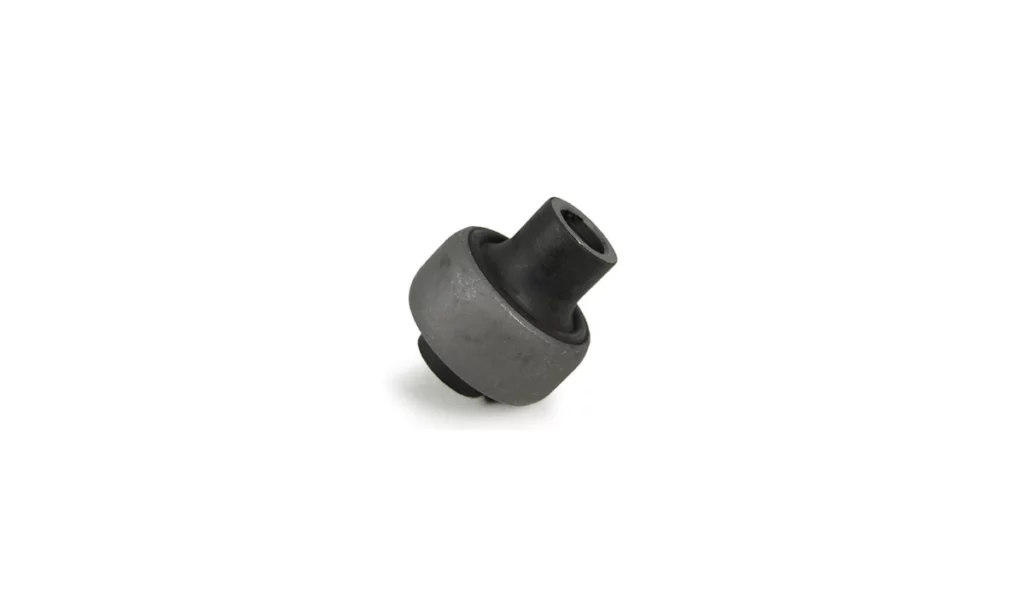
The lower control arm is a critical link between the Saab 9-3 chassis and its wheels. Specifically, it connects the wheel hub to the vehicle’s frame (chassis) at two primary points — the ball joint, which attaches to the wheel hub, and the bushings, which secure it to the subframe.
This configuration allows the wheels to move up and down with road irregularities while keeping them properly aligned with the chassis, ensuring smooth and controlled driving dynamics. The lower control arm is essential for maintaining correct wheel alignment, which is vital for optimal handling and tire wear.
Additionally, it helps absorb road shocks and vibrations, contributing to the overall comfort and stability of the vehicle. Without a properly functioning lower control arm, the car’s steering precision and ride quality can be significantly compromised, leading to unsafe driving conditions.
Suspension Design Types in the Saab 9-3
The Saab 9-3 has employed two different suspension designs over its production years, each influencing the configuration of the lower control arm.
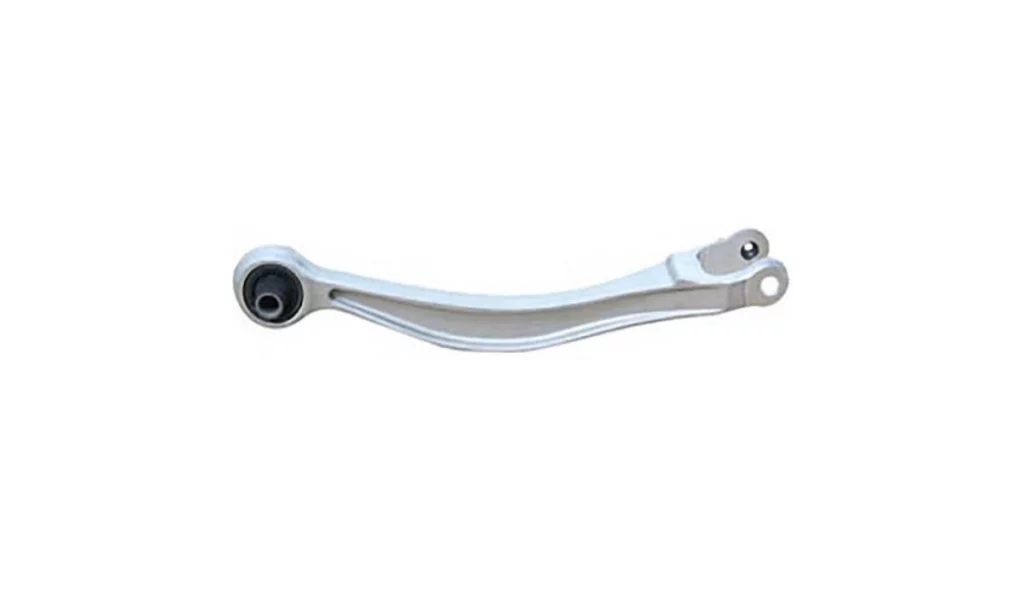
1998-2002 — MacPherson Strut with Stanchion Arm
In the earlier Saab 9-3 models (1998-2002), the suspension system uses a MacPherson strut design paired with a stanchion arm. This setup integrates the shock absorber and coil spring into a single unit (the MacPherson strut), connected to a lower arm supported by a stanchion arm. The stanchion arm works with the lower control arm to provide additional stability and control, especially during cornering and over uneven surfaces.
2003-2014 — MacPherson Strut with Single Lower Control Arm
From 2003 onwards, the Saab 9-3 transitioned to a slightly different MacPherson strut design that features a single lower control arm. In this setup, the lower control arm connects the wheel hub directly to the vehicle’s subframe, maintaining wheel alignment and absorbing road shocks. This design simplifies the suspension system, reducing the number of components and potential wear points while providing excellent handling and ride comfort.
Understanding the type of suspension your Saab 9-3 uses is important when diagnosing issues or replacing components, as the specific design can affect the behavior and wear patterns of the lower control arm.
What are the Symptoms of a Bad Control Arm?
A failing lower control arm in your Saab 9-3 can lead to various noticeable symptoms that impact the vehicle’s performance, safety, and comfort. Recognizing these signs early can help prevent more severe issues and costly repairs. Below are the common symptoms that indicate a lower control arm may need inspection or replacement.
Suspension Noise
One of the first signs of a failing lower control arm is unusual noises coming from the front suspension. You might hear clunking or knocking sounds, particularly when driving over bumps, potholes, or during sharp turns. These noises occur because the worn-out bushings or ball joints allow excessive movement within the suspension, causing metal components to collide.
Steering Problems
A worn lower control arm can significantly affect your Saab 9-3’s steering performance. You may notice the vehicle pulling to one side, making it challenging to keep a straight line, or the steering may feel loose and less responsive. This happens because the lower control arm no longer maintains proper suspension geometry, leading to instability and poor steering precision.
Uneven Tire Wear
If you observe uneven tire wear on your Saab 9-3, particularly on the inner or outer edges, a failing lower control arm could be the culprit. When the control arm’s bushings or ball joints wear out, it disrupts the wheel alignment, causing the tires to wear unevenly. This not only shortens the lifespan of your tires but also impacts the vehicle’s handling and safety.
Vibrations
Vibrations felt through the steering wheel, especially at higher speeds, are another common symptom of a failing lower control arm. These vibrations often result from deteriorated bushings or a loose ball joint within the control arm, which can no longer absorb road impacts effectively. Over time, this issue can worsen, leading to a rough and uncomfortable ride.
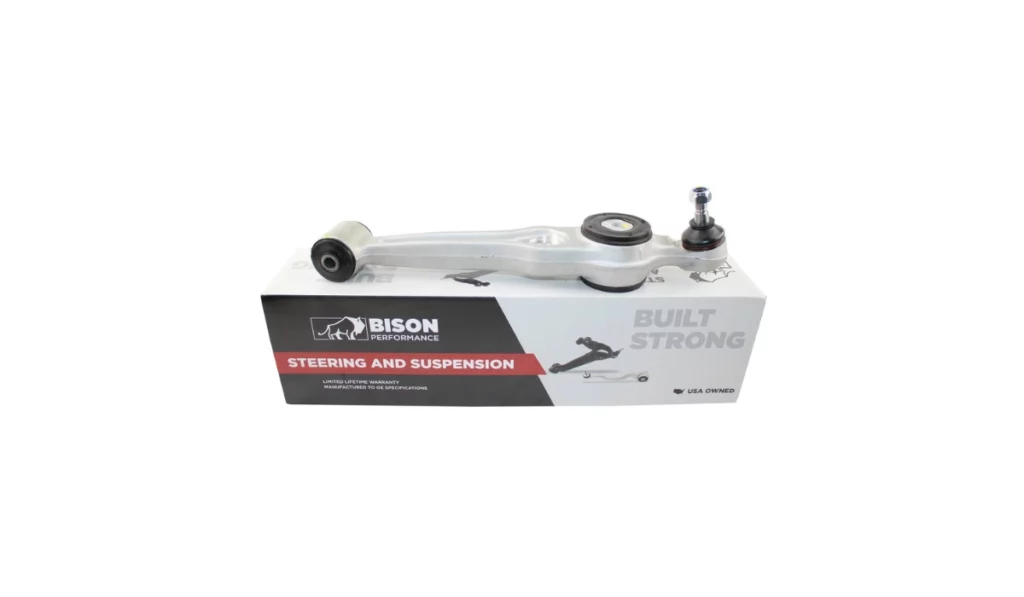
Genuine Saab Parts Just a Click Away
Get the best deals on genuine Saab and OEM parts at eEuroparts.com. We’re dedicated to helping Saab owners keep their vehicles in top condition with high-quality parts at competitive prices. Our curated selection covers all your Saab’s needs, adhering to OEM quality standards. From essential engine components to regular maintenance items, we’ve got you covered.
Enjoy substantial savings and superior quality by choosing eEuroparts.com. Our extensive inventory, easy-to-navigate site, and exceptional customer service make it simple to find what you need. Rely on eEuroparts.com for all your automotive parts needs.
Causes of Lower Control Arm Failure
Understanding the causes of lower control arm failure in your Saab 9-3 can help you take preventive measures to extend the life of this critical component. Various factors, including regular wear and tear, driving conditions, and environmental exposure, can contribute to the deterioration of the lower control arm, leading to potential safety issues and costly repairs.
Wear and Tear
Normal wear and tear over time is the most common cause of lower control arm failure. The bushings and ball joints within the control arm are constantly subjected to stress from the vehicle’s movements, which eventually leads to their deterioration. As these components wear out, they lose their ability to support and stabilize the suspension, increasing the risk of failure.
Driving Conditions
The driving conditions your Saab 9-3 experiences can significantly impact the lifespan of the lower control arm. Rough roads, frequent encounters with potholes, and aggressive driving habits put additional strain on the suspension system. These harsh driving conditions accelerate the wear on the lower control arm’s bushings and ball joints, leading to premature failure.
Accidents or Impacts
Collisions or impacts with curbs, potholes, or other obstacles can cause immediate and significant damage to the lower control arm. Even a minor impact can bend or crack the control arm, compromising its structural integrity. In some cases, the damage may not be immediately visible, but it can lead to long-term issues if not addressed promptly.
Can I Drive My Car with a Bad Lower Control Arm?
No, it is not safe to drive your car with a bad lower control arm. A failing lower control arm compromises the suspension system, leading to poor handling, uneven tire wear, and potentially dangerous driving conditions.
If the lower control arm is severely damaged, it could cause a complete loss of control over the vehicle, especially during turns or sudden maneuvers. It’s essential to address any lower control arm issues immediately to ensure your safety and the safety of others on the road. If you suspect a problem, have it inspected and repaired as soon as possible.
Diagnosing Lower Control Arm Issues
Diagnosing lower control arm issues early can save you from more extensive repairs and ensure your Saab 9-3 remains safe and reliable on the road. Whether you prefer to inspect the components yourself or consult a professional, understanding how to identify potential problems with your lower control arm is essential for maintaining optimal vehicle performance.
Visual Inspection
Start by visually inspecting the lower control arm for any obvious signs of wear, cracks, or damage. Look for torn or deteriorated bushings or any visible bends in the metal structure. Pay close attention to the ball joint area, as it is prone to wear. A flashlight can help illuminate hard-to-see areas, and if you notice any significant issues, replacement or repair may be necessary.
Additionally, inspect the condition of your tires as part of the visual inspection. Uneven tire wear is a strong indicator that something is wrong with the suspension geometry, possibly due to a failing lower control arm. If you notice that the tires are wearing unevenly, such as more wear on the inner or outer edges, this suggests that the wheels are not properly aligned, likely due to suspension issues.
In such cases, it’s important to address the underlying cause promptly to avoid further damage to the tires and suspension system and to ensure safe driving conditions.
Test Driving
Taking your Saab 9-3 for a test drive is another effective way to diagnose lower control arm issues. Listen for any unusual clunking or knocking noises coming from the front suspension, especially when driving over bumps or during turns. Also, pay attention to how the car handles, if you experience pulling to one side, loose steering, or vibrations through the steering wheel, these could be signs of a failing lower control arm.
Professional Diagnosis
If you’re unsure about your findings or if the symptoms persist after a visual inspection and test drive, it’s wise to consult an experienced mechanic. A trained technician can perform a more thorough inspection using specialized tools and equipment, ensuring an accurate diagnosis. They can also recommend the best course of action, whether it’s a repair, replacement, or further investigation into related suspension components.
Step-by-Step Guide to Replacing the Lower Control Arm
Replacing the lower control arm on your Saab 9-3 can seem daunting, but with the right tools and instructions, it’s a task that can be accomplished by a dedicated DIY enthusiast. Follow specific instructions from the vehicle’s repair manual to ensure accuracy and safety throughout the process.
Keep in mind that any DIY automotive repair should be undertaken at your own risk, so it’s essential to assess your skill level and take all necessary precautions before proceeding. This step-by-step guide will walk you through the entire process, ensuring a safe and effective repair that restores your vehicle’s handling and safety.


Tools Needed
Before you begin, you’ll need the necessary tools to complete the lower control arm replacement:
- Gloves
- Safety goggles
- Hydraulic jack
- Jack stand
- Wheel Chock
- Ratchet and socket set
- E-Torx socket set
- Spanner set
- Pry bar
- Torque wrench
- Plastic hammer
- Ball joint separator or pickle fork
- Penetrating oil
Having these tools on hand will make the job smoother and ensure you’re prepared for each step of the process.
Safety First
Working underneath your Saab 9-3 requires strict adherence to safety protocols. Always ensure the car is on a level surface before lifting it. Use a reliable jack to raise the vehicle and secure it with jack stands placed under the designated lift points.
Wheel chocks should be placed behind the opposite wheels to prevent any movement. Wearing gloves and safety glasses is also recommended to protect your hands and eyes from debris or accidental slippage while working on the suspension.

Lower Control Arm Removal
Lift the Vehicle — Start by safely lifting the vehicle using the jack and securing it on jack stands. Ensure it’s stable before proceeding.
Remove the Wheel — Take off the wheel to access the lower control arm. Use your socket and ratchet set to remove the lug nuts and set the wheel aside.
Detach the Ball Joint — Locate the ball joint that connects the control arm to the wheel hub. Lose the stud nut or pinch bolt and use a ball joint separator or pickle fork to disconnect it carefully. Additionally, you’ll have to disconnect the stabilizer link from the lower arms on first-gen Saab 9-3.
Separate from the Subframe — The lower control arm is attached to the subframe with multiple bolts. Use your socket and ratchet set to remove these bolts. A pry bar may be needed to help free the control arm from its mounts. For first-generation Saab 9-3, you’ll have to separate the stanchion arm from the lower control arm first to help with the removal process.
Remove the Control Arm — Once the ball joint and subframe connections are detached, you can remove the old lower control arm from the vehicle.
Replacing Bushings on Lower Control Arms
If the bushings on your lower control arm are worn but the control arm itself is still in good condition, consider replacing just the bushings. This approach can extend the life of the lower control arm without the need for a complete replacement. However, this repair will require additional tools, such as a bushing press, and will include further steps.
If the ball joint on the lower control arm is showing signs of wear or is close to failing, it’s often more practical and cost-effective to replace the entire lower control arm assembly. Replacing the full assembly ensures that both the bushings and ball joints are new, providing better overall performance and longevity for your vehicle’s suspension system.


Installation of the Lower Control Arm
Position the Lower Control Arm — Align the new lower control arm with the mounting points on the subframe and the wheel hub. Ensure it’s correctly oriented to match the vehicle’s suspension geometry.
Attach to the Subframe — Secure the new control arm to the subframe by inserting the bolts you removed earlier. Tighten them by hand first to ensure proper alignment.
Reconnect the Ball Joint — Insert the ball joint stud into the wheel hub and secure it. Use a torque wrench to tighten the ball joint nut to the manufacturer’s specifications, ensuring a secure fit.
Torque the Bolts — Once everything is in place, use your torque wrench to tighten all the bolts to the manufacturer’s recommended torque settings. This step is crucial for the longevity and safety of the repair.
Final Checks
Before considering the job done, double-check all bolts and nuts to ensure everything is securely fastened. Reattach the wheel, lower the vehicle, and perform a visual inspection to confirm that all components are properly aligned. It’s also vital to have the vehicle’s wheel alignment checked and adjusted after replacing the control arm, as this can impact tire wear and handling.
Finally, take your Saab 9-3 for a test drive, paying close attention to the handling and listening for any unusual noises to confirm the successful installation of the new lower control arm.
Importance of Regular Maintenance
Regular maintenance of your Saab 9-3 suspension system is essential for ensuring long-term reliability, safety, and driving comfort. By staying proactive with inspections and routine checks, you can catch potential issues before they become serious problems, saving you from costly repairs and keeping your vehicle performing at its best.
Proactive Inspection
Regular inspection of your suspension components, including the lower control arm, is crucial for preventing unexpected failures. By routinely checking for signs of wear, damage, or corrosion, you can address issues early on and avoid more extensive damage. Regular inspections help ensure that your Saab 9-3 continues to deliver a smooth, safe ride, maintaining both your vehicle’s performance and your peace of mind.
Alignment Checks
Getting regular wheel alignments is an often overlooked but essential aspect of suspension maintenance, particularly after replacing components like the lower control arm. Proper alignment ensures that your tires wear evenly, extend their lifespan, and maintain the precise handling characteristics of your Saab 9-3.
Neglecting alignment checks can lead to uneven tire wear, poor handling, and increased fuel consumption, making it a critical step in your vehicle’s maintenance routine.
eEuroparts.com — Your Trusted Source for Saab 9-3 Parts
Maintaining your Saab 9-3 in top condition requires high-quality parts that you can trust. At eEuroparts.com, we specialize in providing a wide range of premium parts specifically for Saab vehicles, including the critical components needed for your suspension system.
Whether you’re tackling a lower control arm replacement or simply stocking up on routine maintenance items, our extensive catalog ensures that you’ll find exactly what you need to keep your Saab 9-3 running smoothly.
With fast shipping, competitive prices, and a commitment to customer satisfaction, eEuroparts.com is your go-to destination for all your Saab parts. Don’t let inferior parts compromise your vehicle’s performance — trust eEuroparts.com to provide the quality you deserve. Explore our selection today and get your Saab 9-3 back on the road with confidence.
