
Is your check engine light on? Then, you plug in your OBD-II scanner and find the P0153 code? Don’t panic! This code can be puzzling, but we’re here to decode it for you. The P0153 check engine light code indicates a slow response from the O2 sensor located in Bank 2, Sensor 1. In simpler terms, your vehicle’s oxygen sensor isn’t reacting quickly enough to the changes in the exhaust gas mixture, which can affect your engine’s performance and emissions.
Oxygen sensors play a critical role in your car’s exhaust system. They monitor the oxygen levels in the exhaust gases and help the Engine Control Unit (ECU) adjust the air-fuel mixture for optimal combustion. When the O2 sensor isn’t functioning properly, it can lead to various issues, from poor fuel economy to bad emissions.
In this guide, we’ll go over what the P0153 code means, common causes and symptoms, how to diagnose the issue, and the best ways to fix it. Whether you’re a seasoned DIY mechanic or just trying to understand what’s happening under the hood, we’ve got you covered. So, let’s get started and keep your car running smoothly and efficiently!
What is the P0153 Code?
Understanding the P0153 code is crucial for maintaining your vehicle’s health. Let’s break down what this means and why it’s important.
What Does the P0153 Code Mean?
The P0153 code signifies that the oxygen sensor (O2 sensor) in Bank 2, Sensor 1, is not responding quickly enough to changes in the exhaust gas mixture. Essentially, this sensor is lagging, leading to improper air-fuel mixture adjustments by the engine control unit (ECU).
Bank 2 Sensor 1 Oxygen Sensor Function
The oxygen sensor in Bank 2, Sensor 1, is vital to the vehicle’s exhaust system and overall engine performance. Located in the exhaust manifold of the second bank of cylinders, this sensor monitors the oxygen levels in the exhaust gases exiting the engine. By measuring the amount of oxygen present, the sensor provides crucial data to the Engine Control Unit (ECU).
The ECU uses the information from the Bank 2, Sensor 1 O2 sensor to adjust the air-fuel mixture for optimal combustion. If the mixture is too rich (too much fuel) or too lean (too much air), the sensor detects this imbalance and signals the ECU to make the necessary adjustments. This ensures the engine runs efficiently, maximizing fuel economy and minimizing harmful emissions.
Why Is It Important?
A properly functioning O2 sensor is critical for vehicle performance and emission control. It helps maintain the right air-fuel ratio, ensuring efficient combustion. This enhances engine performance and fuel efficiency and reduces harmful emissions. When the sensor fails to respond correctly, it can lead to increased fuel consumption, higher emissions, and potential engine damage over time.
Can a P0153 code affect my car’s performance?
Yes, a P0153 code can significantly affect your car’s performance. When the O2 sensor in Bank 2, Sensor 1, is slow to respond, it disrupts the ECU’s ability to adjust the air-fuel mixture in time. This can result in poor fuel economy, rough idling, engine misfires, and increased emissions.
Additionally, the vehicle may fail emissions tests, leading to further complications. Addressing this issue promptly ensures your engine runs smoothly and efficiently, maintaining optimal performance and reducing the risk of long-term damage.
Common Causes of the P0153 Code
Understanding the common causes of the P0153 code can help you diagnose and fix the issue effectively. This code is often triggered by problems with the oxygen sensor’s responsiveness in Bank 2, Sensor 1. Here, we’ll explore the factors that can lead to this slow response and related diagnostic trouble codes (DTCs) that might accompany it.
Aging O2 Sensor
Over time, the oxygen sensor can wear out due to constant exposure to high temperatures and exhaust gases. This wear and tear can cause the sensor to respond slowly to changes in the exhaust gas mixture, triggering the P0153 code. Regular maintenance and timely replacement of aging sensors are essential to prevent this issue.
Wiring Issues
Damaged or corroded wiring can cause signal interference between the oxygen sensor and the ECU. Frayed wires, loose connections, or corroded connectors can lead to poor communication, resulting in a slow sensor response that activates the P0153 code. Inspecting and repairing any wiring issues can help resolve this problem.
Exhaust Leaks
Leaks in the exhaust system, particularly before the oxygen sensor, can introduce excess oxygen into the exhaust stream. This can cause incorrect sensor readings, leading to the P0153 code. Common signs of exhaust leaks include a loud exhaust noise and the smell of exhaust fumes. Fixing these leaks can restore proper sensor function.

Air Intake Leaks
Leaks in the air intake system can also affect the O2 sensor readings. Unmetered air entering the intake can cause the engine to run lean, which the oxygen sensor may not compensate quickly enough, triggering the P0153 code. Inspecting and sealing any air intake leaks can help resolve this issue.
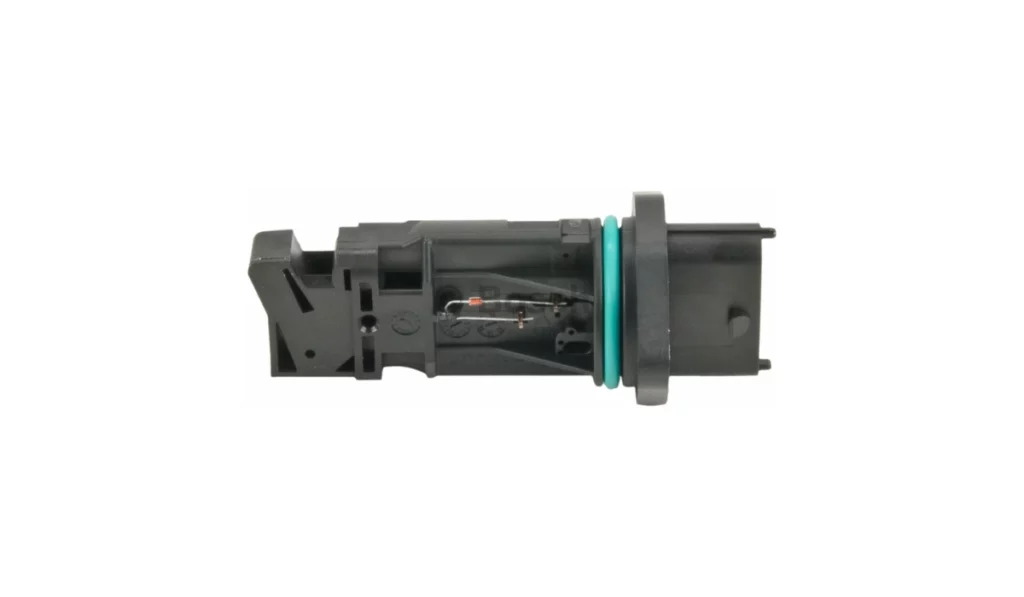
A dirty or defective Mass Air Flow (MAF) sensor can also activate the P0153 fault. The MAF sensor measures the air entering the engine and sends this information to the ECU. If the MAF sensor is not working correctly, it can cause inaccurate air-fuel mixture readings, leading to a slow response from the O2 sensors and triggering the P0153 code.
Fuel System Problems
Issues with the fuel system, such as faulty fuel injectors or incorrect fuel pressure, can alter the air-fuel mixture, affecting the oxygen sensor’s ability to respond accurately. These fuel system problems can lead to the P0153 code. Ensuring the fuel injectors and pressure function correctly can help maintain proper sensor performance.
Consequential Codes
The P0153 code can sometimes be a byproduct of other underlying faults. Related DTCs that might accompany it include P0102 (Mass or Volume Air Flow “A” Circuit Low), P0103 (Mass or Volume Air Flow “A” Circuit High), P0113 (Intake Air Temperature Sensor 1 Circuit High), and P0152 (O2 Sensor Circuit High Voltage Bank 2 Sensor 1). These codes can provide additional clues to the root cause of the problem, helping with more accurate diagnosis and repair.
By understanding these common causes, you can proactively diagnose and fix the P0153 code, ensuring your vehicle runs efficiently and reliably. Regular maintenance and timely repairs are key to preventing such issues.
Authentic European Auto Parts at Amazing Prices
Visit eEuroparts.com for a wide selection of genuine European car parts and OEM parts at excellent online prices. We aim to help European car owners maintain their vehicles affordably. Our parts range is tailored to fit your European ride perfectly, adhering to OEM standards. We have everything from essential brake components to routine maintenance supplies to keep your vehicle in top shape.
Choosing eEuroparts.com means getting the best value without compromising on quality. This is ideal for European car enthusiasts who demand both savings and top-notch parts. Our extensive inventory, user-friendly site, and outstanding customer service ensure you get what you need. For all your maintenance and upgrade needs, rely on eEuroparts.com.
Symptoms of a P0153 Code
Recognizing the symptoms of a P0153 code can help you address the issue before it leads to more severe engine problems. This section covers the most common signs that indicate your vehicle might be experiencing a Bank 2, Sensor 1, oxygen sensor slow response issue.
Check Engine Light
The most obvious symptom of a P0153 code is the illumination of the check engine light. When the ECU detects a slow response from the oxygen sensor, it triggers the check engine light to alert the driver to a potential problem. This warning should prompt you to diagnose the issue as soon as possible.
Poor Fuel Economy
A malfunctioning O2 sensor can lead to decreased fuel efficiency. When the sensor fails to respond quickly enough, the ECU may not adjust the air-fuel mixture correctly. This can cause the engine to run too rich or lean, increasing fuel consumption and operating costs.
Rough Idling and Misfires
Another symptom of a P0153 code is rough idling or engine misfires. The slow response of the oxygen sensor can lead to improper air-fuel mixture adjustments, causing the engine to run unevenly. This can result in noticeable shaking or hesitation when the vehicle is idling and even misfires during acceleration.

Emissions Test Failure
A faulty O2 sensor can cause the vehicle to fail emissions tests. The oxygen sensor helps control the amount of pollutants released by the engine. When it’s not functioning properly, the emissions control system cannot work effectively, leading to higher harmful emissions and a failed emissions test.
Can I drive my car with a P0153 code?
Yes, you can drive your car with a P0153 code, but it is not recommended. Driving with a slow-responding O2 sensor can lead to poor fuel economy, increased emissions, and potential engine damage over time.
The incorrect air-fuel mixture adjustments can strain the engine, causing it to run less efficiently and potentially leading to more severe issues. It’s best to address the problem immediately to avoid further complications and ensure your vehicle runs smoothly and efficiently.
Diagnosing the P0153 Code
Accurately diagnosing the P0153 code is essential to effectively addressing the issue and ensuring your vehicle runs smoothly. This section will guide you through using an OBD-II scanner, performing a visual inspection, and testing the sensor’s voltage response to pinpoint the problem with the oxygen sensor in Bank 2, Sensor 1.
OBD-II Scanner
Using an OBD-II scanner is the first step in diagnosing the P0153 code. Here’s how to use it to check for live data:
Connect the Scanner — Plug the OBD-II scanner into the vehicle’s diagnostic port, usually located under the dashboard.
Read the Codes — Turn on the ignition without starting the engine and follow the scanner’s instructions to retrieve the diagnostic trouble codes.
Check Live Data — Access the live data stream from the O2 sensor. Compare the oxygen sensor’s response time and voltage readings to a known good sensor. A slow response or inconsistent readings can indicate a problem with the sensor.
Record the Data — Note any anomalies in the sensor’s response time and voltage to help with further diagnostics.
Visual Inspection
A visual inspection can help identify obvious issues with the O2 sensor and its wiring. Follow these steps:
Locate the Sensor — Refer to your vehicle’s repair manual to find the exact location of the Bank 2, Sensor 1 oxygen sensor.
Inspect the Wiring — Check the wiring connected to the sensor for signs of damage, such as frayed wires, loose connections, or corrosion.
Examine the Sensor — Look for physical damage to the sensor itself. Ensure it is securely mounted and free of contaminants.
Voltage Testing
Using a multimeter or oscilloscope to test the sensor’s voltage response provides detailed insights into its functionality. Here’s a brief overview:
Prepare the Tools — Gather a digital multimeter or an oscilloscope.
Set the Multimeter — If using a multimeter, set it to the appropriate voltage range.
Test the Sensor — Connect the multimeter probes to the sensor’s signal wire and ground. For an oscilloscope, connect the probes similarly.
Analyze the Readings — Observe the voltage readings or waveform while the engine is running. The sensor should produce a fluctuating voltage corresponding to the exhaust gas mixture. A slow or flat response indicates a faulty sensor.
By following these diagnostic steps, you can accurately identify the cause of the P0153 code and take the necessary actions to resolve the issue, ensuring your vehicle’s engine runs efficiently and reliably.
Repair Solutions for the P0153 Code
Fixing the P0153 code is crucial to ensure your vehicle runs efficiently and to prevent further damage. This section will provide detailed repair solutions, including replacing the O2 sensor, repairing wiring, fixing exhaust leaks, addressing air intake leaks, and maintaining the fuel system. Additionally, we’ll discuss the costs associated with fixing this code.


Tools Needed for the Repair
Before starting the repair, ensure you have the following tools:
- Gloves
- Safety goggles
- Hydraulic jack
- Jack stands
- OBD-II scanner
- Digital multimeter or oscilloscope
- Ratchet and socket set
- Spanner set
- Screwdriver set
- Pliers set
- Oxygen sensor wrench
- Torque wrench
- Wire strippers and crimpers
- Electrical tape or heat shrink tubing
Safety Tips to Follow
Safety is at the top of every checklist when performing vehicle repairs. Always disconnect the negative battery terminal before starting any repairs to prevent electrical shocks. Ensure the engine is cool to the touch before working on any components to avoid burns. If you need to lift the vehicle, use jack stands or ramps to secure it properly and prevent accidents.
Wearing safety gear, such as gloves and safety goggles, is essential to protect your hands and eyes from debris and chemicals. Ensure your workspace is well-ventilated to avoid inhaling harmful fumes, especially when dealing with exhaust or fuel system components. Be cautious when working with wiring and electrical components to prevent short circuits or damage.
Lastly, refer to your vehicle’s repair manual for specific instructions and torque specifications to ensure proper part installation. Following these safety tips will help ensure a safe and efficient repair process.

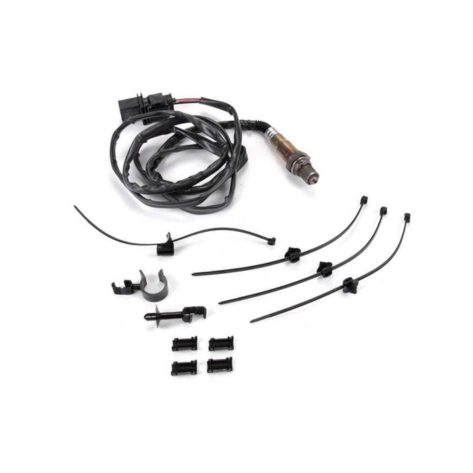
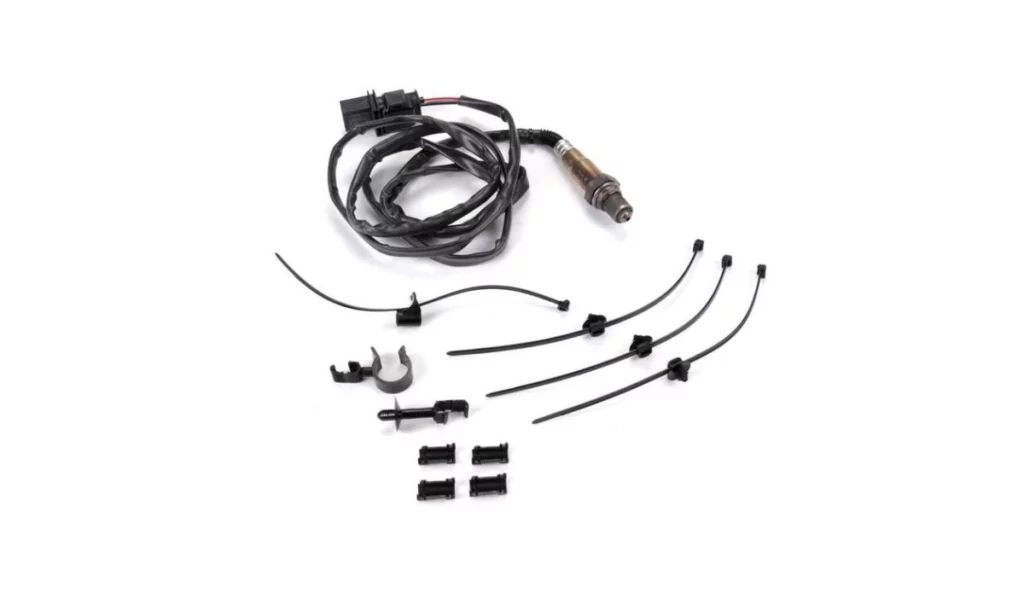
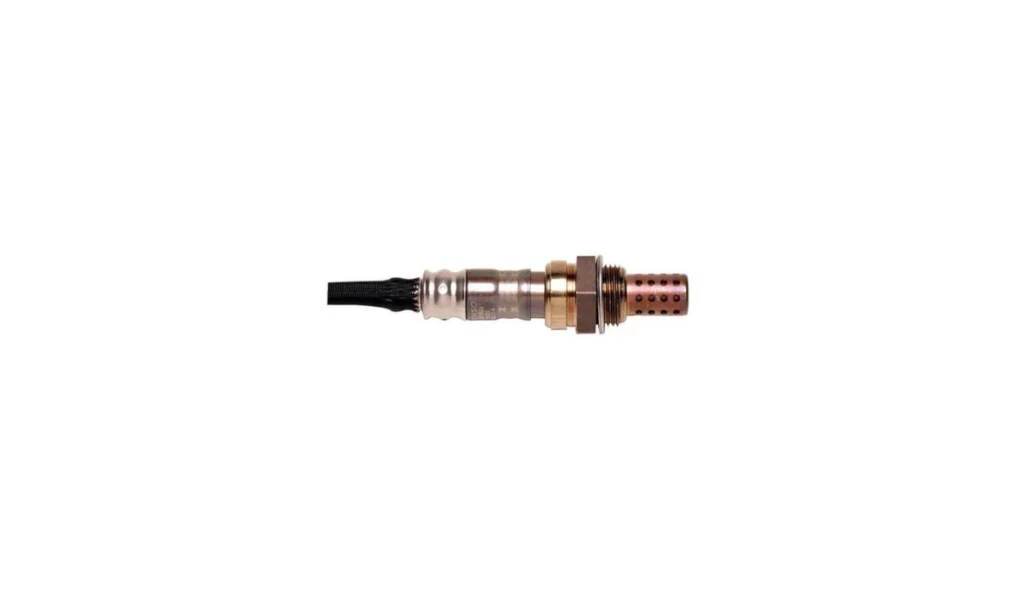
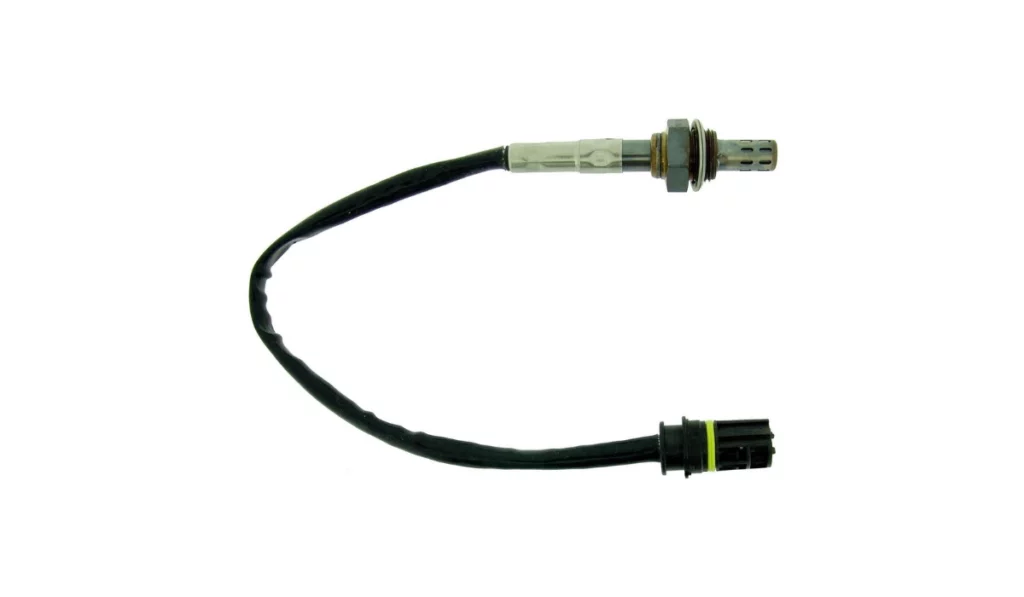
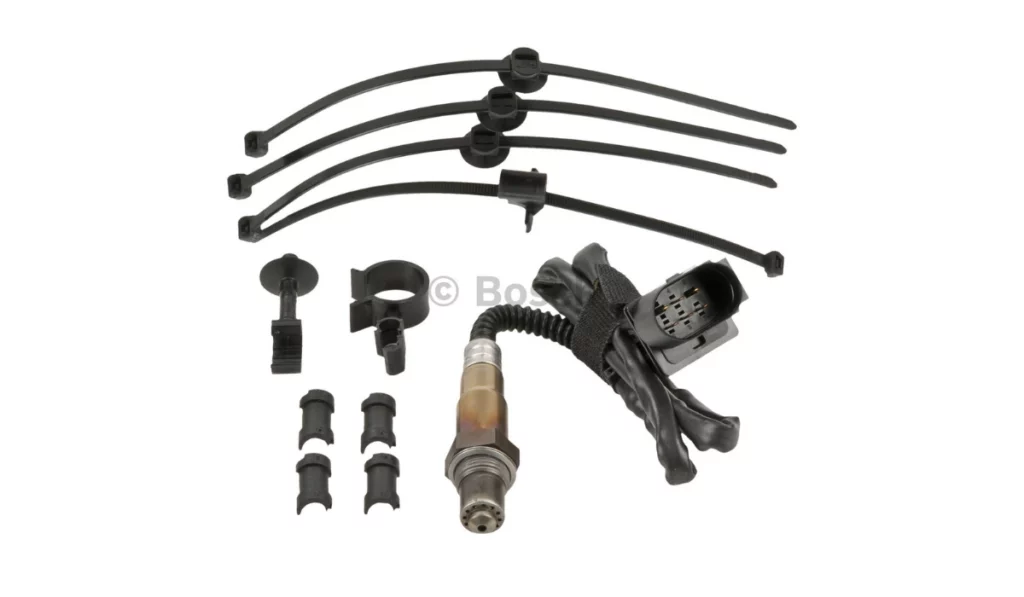
Replacing the O2 Sensor
Here’s a step-by-step guide to replacing a faulty O2 sensor:
Locate the Sensor — Refer to your vehicle’s repair manual to find the Bank 2, Sensor 1 oxygen sensor.
Disconnect the Battery — Disconnect the negative battery terminal to prevent electrical shocks.
Remove the Sensor — Use an O2 sensor socket or wrench to remove the old sensor carefully.
Install the New Sensor — Apply anti-seize compound to the threads of the new sensor, then screw it into place and tighten it to the manufacturer’s specifications.
Reconnect the Wiring — Attach the sensor’s electrical connector.
Reconnect the Battery — Reconnect the negative battery terminal and start the engine to ensure the sensor works properly.
Repairing Wiring
Damaged wiring can cause the P0153 code. Here are tips for repairing or replacing it:
Inspect the Wiring — Check for any visible damage, such as frayed wires or corroded connectors.
Repair Damaged Sections — Use electrical tape or heat shrink tubing to insulate minor damage.
Replace Severely Damaged Wires — If the damage is extensive, cut out the damaged section, solder a new piece of wire, and insulate it properly.
Ensure Secure Connections — Ensure all connectors are clean, secure, and corrosion-free.
Fixing Exhaust Leaks
Exhaust leaks can affect O2 sensor readings. Here’s how to fix them:
Locate the Leak — Listen for hissing sounds and check for visible damage in the exhaust system.
Inspect Joints and Seals — Check all exhaust joints and seals for leaks.
Repair or Replace Damaged Parts — Use exhaust clamps and a new exhaust gasket or replace damaged sections of the exhaust pipe.
Air Intake Leak Repair
Air intake leaks can disrupt the air-fuel mixture. Here’s how to address them:
Inspect the Intake System — Check for cracks or loose connections in the intake manifold, hoses, and air filter housing. Don’t forget the vacuum lines too.
Seal the Leaks — Use high-quality sealant for minor cracks or replace damaged hoses and intake components.
Ensure Tight Connections — Make sure all connections are tight and secure.

Fuel System Maintenance
Proper fuel system maintenance can prevent related issues:
Clean Fuel Injectors — Use a fuel injector cleaner to keep injectors clean and functioning properly.
Check Fuel Pressure — Ensure the fuel pressure meets the manufacturer’s specifications.
Replace Fuel Filters — Regularly replace the fuel filter to prevent clogging and ensure proper fuel flow.
How much does it typically cost to fix a P0153 code?
Fixing a P0153 code can vary in cost depending on the underlying issue. Replacing an O2 sensor typically costs between $200 and $400, including parts and labor. Repairing or replacing damaged wiring may cost around $100 to $350, depending on the extent of the damage. Fixing exhaust leaks can range from $150 to $600, depending on the complexity of the repair. Addressing air intake leaks and performing fuel system maintenance can add to the overall cost.
Get Top-Quality Parts for Your Repairs at eEuroparts.com!
High-quality parts ensure long-lasting performance and reliability when maintaining and repairing your vehicle. For all your automotive needs, look no further than eEuroparts.com. Offering a vast selection of OEM and aftermarket parts, eEuroparts.com guarantees you’ll find the perfect fit for your vehicle.
Whether you need a new O2 sensor, wiring harnesses, or exhaust components, eEuroparts.com provides parts that meet or exceed manufacturer specifications. Our user-friendly website makes searching for exactly what you need easy, and our excellent customer service ensures a smooth shopping experience.
Don’t settle for subpar parts — visit eEuroparts.com today and get the top-quality parts your vehicle deserves. With eEuroparts.com, you can trust that your car will run smoothly and efficiently, keeping you safe on the road. Visit our website now and see the difference quality parts can make!
