
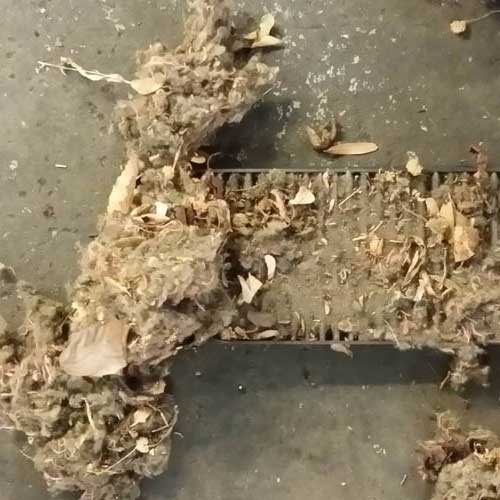

The cabin filter, also called dust and pollen filter, is an easily overlooked service item with factory recommendations of changing every 2 years or 40k miles. It doesn’t impact the drivability of the car and since the filter gradually gets dirty over time it is not as though one day a light will pop on to say “change pollen filter”. I’ll admit that over the years I have forgotten to check and then when I do change it I am reminded how much of an improvement it makes in the air quality, this is especially true if you have any sort of allergies to pollen.
The lifespan of the cabin filter can vary greatly depending on where you live and where your car parks, so a cabin filter form a car sitting in a garage will be quite a bit different from one that is street parked under a tree. The filter only takes a few minutes to check and replace if needed, so no reason not to. Easiest way not to forget would be to check it with every oil change and always keep an extra filter in the garage or the house.

Note there are two types of filters for the car, the standard and charcoal. The standard works just fine for filter dust and pollen but charcoal also absorbs odors keeping the car fresher on the inside. I opt for the charcoal personally but to each his or her own.
Standard Style: (https://www.eeuroparts.com/Parts/86262/Cabin-Air-Filter-CU26009/) or (https://www.eeuroparts.com/Parts/163113/Cabin-Air-Filter-Anti-Microbial-FP26009/)
Charcoal: (https://www.eeuroparts.com/Parts/436950/Cabin-Air-Filter-Activated-Charcoal-E2998LC/) or (https://www.eeuroparts.com/Parts/169386/Cabin-Air-Filter-Activated-Charcoal-80004515/).
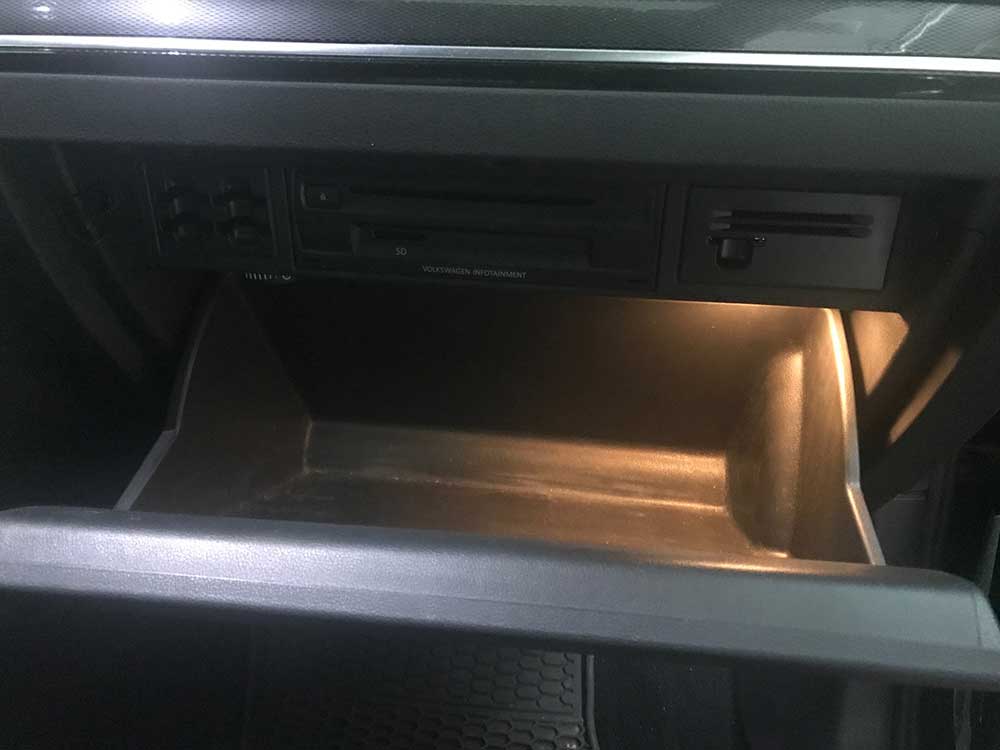
Step One:
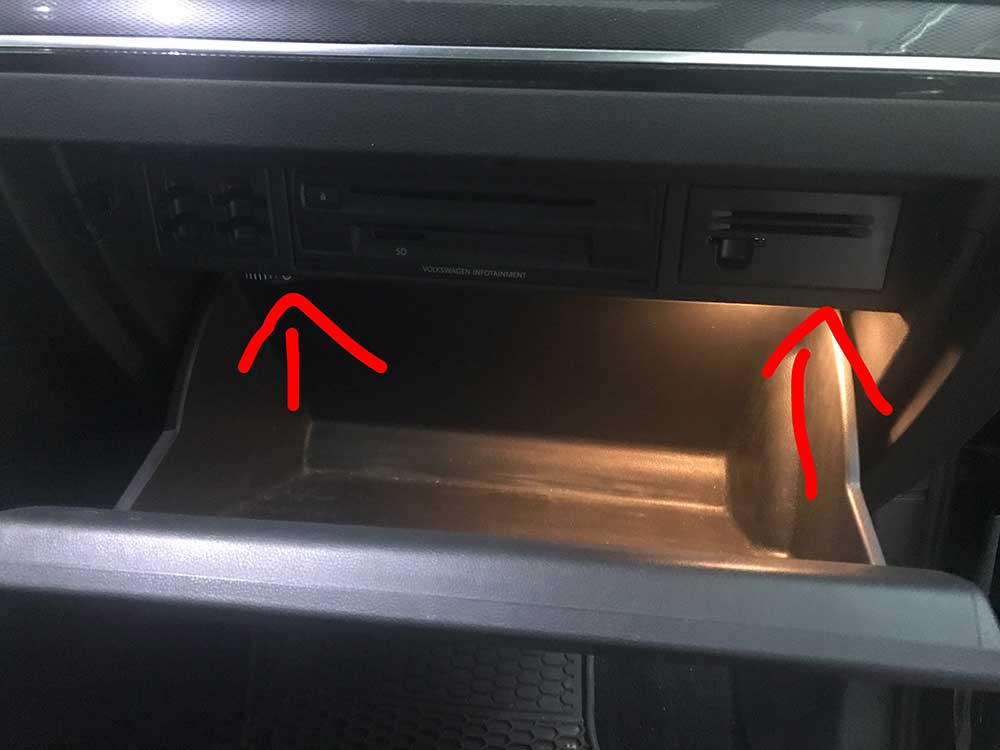
Start by opening the glove box and press in on the two outer tabs pictured. Just a little note: don’t leave a ton of things in the glove box as they will fall to the ground when you drop the glove box all the way open.
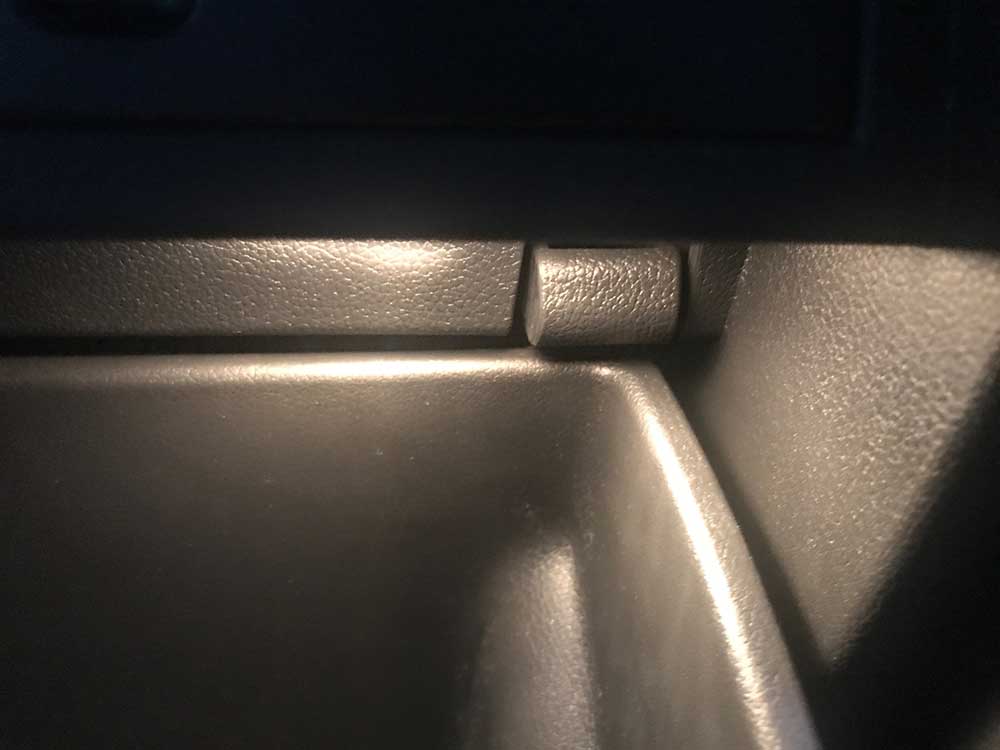
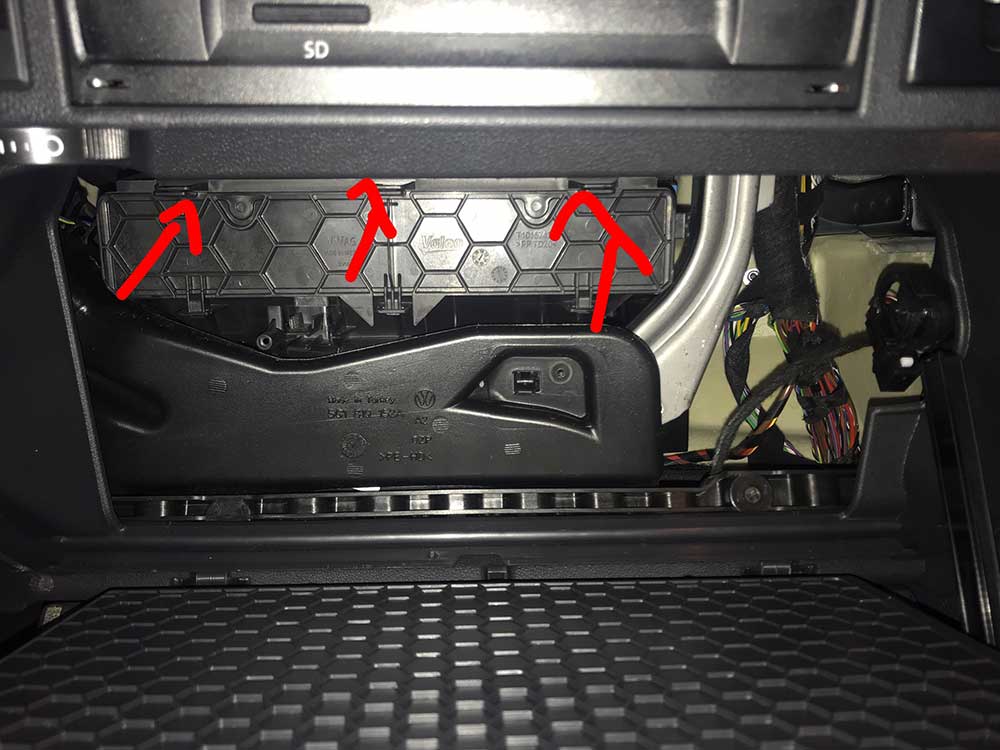
Step Two:
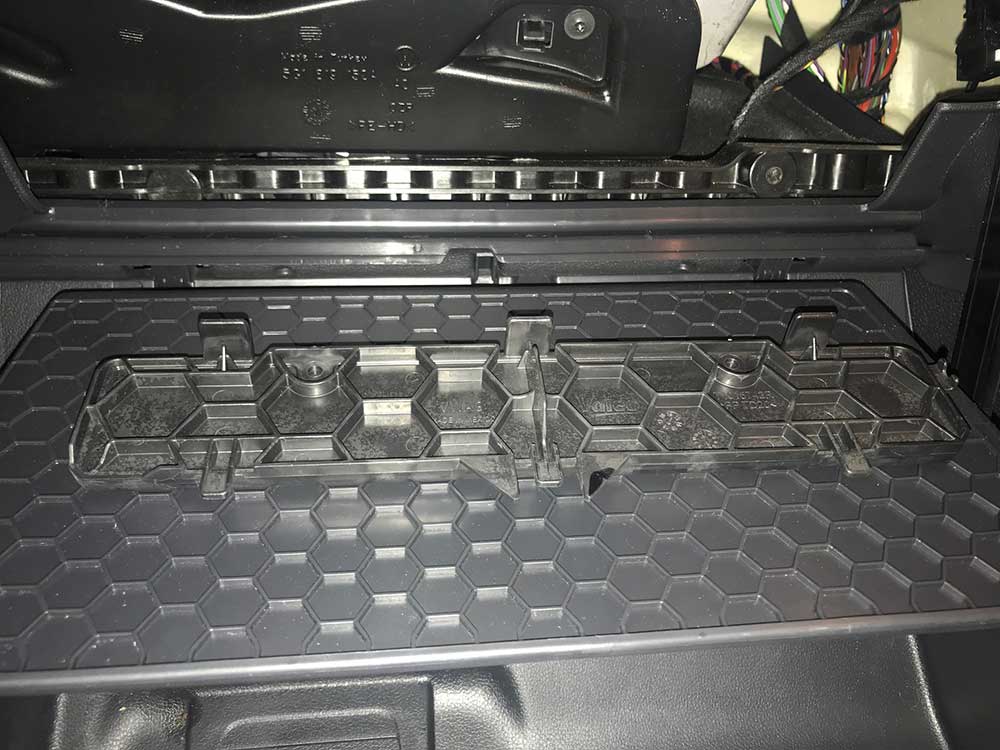
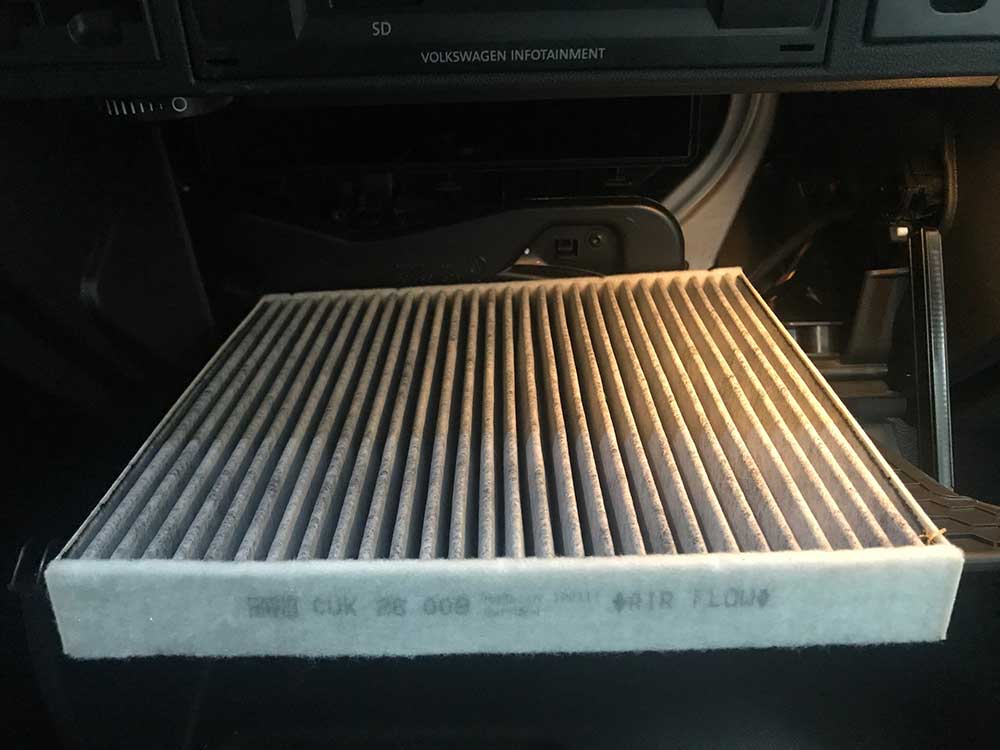
With the glove box all the way open locate the plastic door that holds the air filter in and release the top of it and then it comes right off. Then pull out the air filter, noting the arrows showing the direction of airflow, which point downwards. Take a quick peak in to make sure it is clean and no debris fell in there, if so just wipe it out or vacuum if you have one handy.
Step Three:
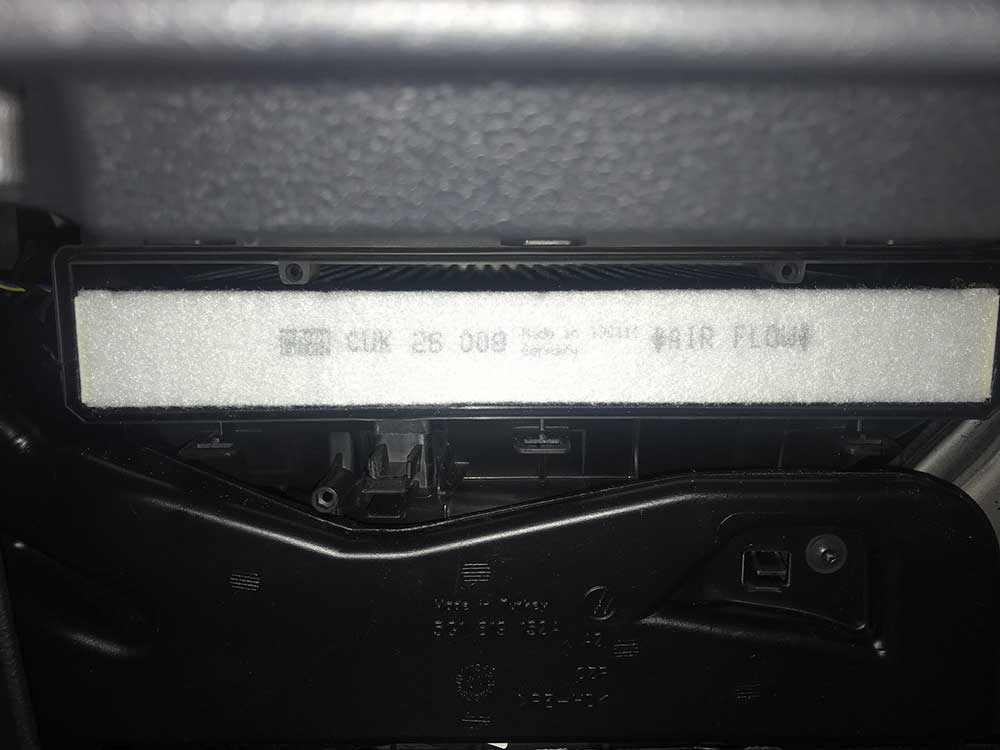
Insert the new filter, double check that arrows are pointing down, put the little panel back on and close up the glove box. Debris may have fallen out when you pulled the old filter, so just clean that up too.
That’s all, pretty simple. No special tools needed and everyone who rides in your car will appreciate the cleaner air.
